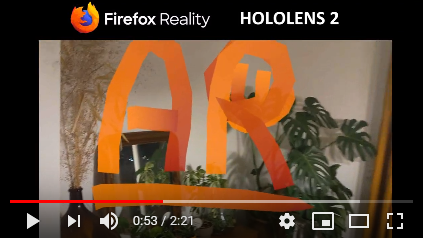
SimpleWebXR is a lightweight library that exposes the WebXR javascript API in your C# Unity code. Thus, after a Unity WebGL build, your app can do augmented or virtual reality in the browser.
👁️ Watch to be notified of latest updates !
Works on :
- Google Chrome on Android (:warning: a secure https connection is required)
- Edge on Windows 10 for Mixed Reality Headsets
- Edge on Hololens 2
- Firefox Reality on Hololens 2
- Mozilla WebXR Viewer on iOS (:warning: WebGL 2.0 should be disabled, it's a Webkit experimental feature)
- Oculus Browser on Oculus Quest 1 and 2
- Firefox emulator on desktop
- Chrome emulator on desktop
Mixed Reality Toolkit is a Microsoft-driven project that provides a set of components and features, used to accelerate cross-platform MR app development in Unity. It supports Hololens, Windows Mixed Reality headset, OpenVR, Ultraleap, Mobile devices and now WebXR !
The files in directory /SimpleWebXR-Demo/Assets/SimpleWebXR/Scripts/MRTK add WebXR capabilities to MRTK with the following functions: controller tracking, hand tracking, hand ray, index pointer, grip pointer and spatial pointer. Teleportation could be added.
LIVE DEMO:
- Hand interaction :
▶️ https://rufus31415.github.io/webxr/MRTK-HandInteraction - Color picker :
▶️ https://rufus31415.github.io/webxr/MRTK-ColorPicker - Elastic menus :
▶️ https://rufus31415.github.io/webxr/MRTK-ElasticSystem - Hand coach :
▶️ https://rufus31415.github.io/webxr/MRTK-HandCoach - Hand menu :
▶️ https://rufus31415.github.io/webxr/MRTK-HandMenuLayout - Material gallery :
▶️ https://rufus31415.github.io/webxr/MRTK-MaterialGallery - Scrolling menus :
▶️ https://rufus31415.github.io/webxr/MRTK-ScrollingObjectCollection - Solvers :
▶️ https://rufus31415.github.io/webxr/MRTK-Solver
| Hololens 2 | Oculus Quest |
|---|---|
 |
 |
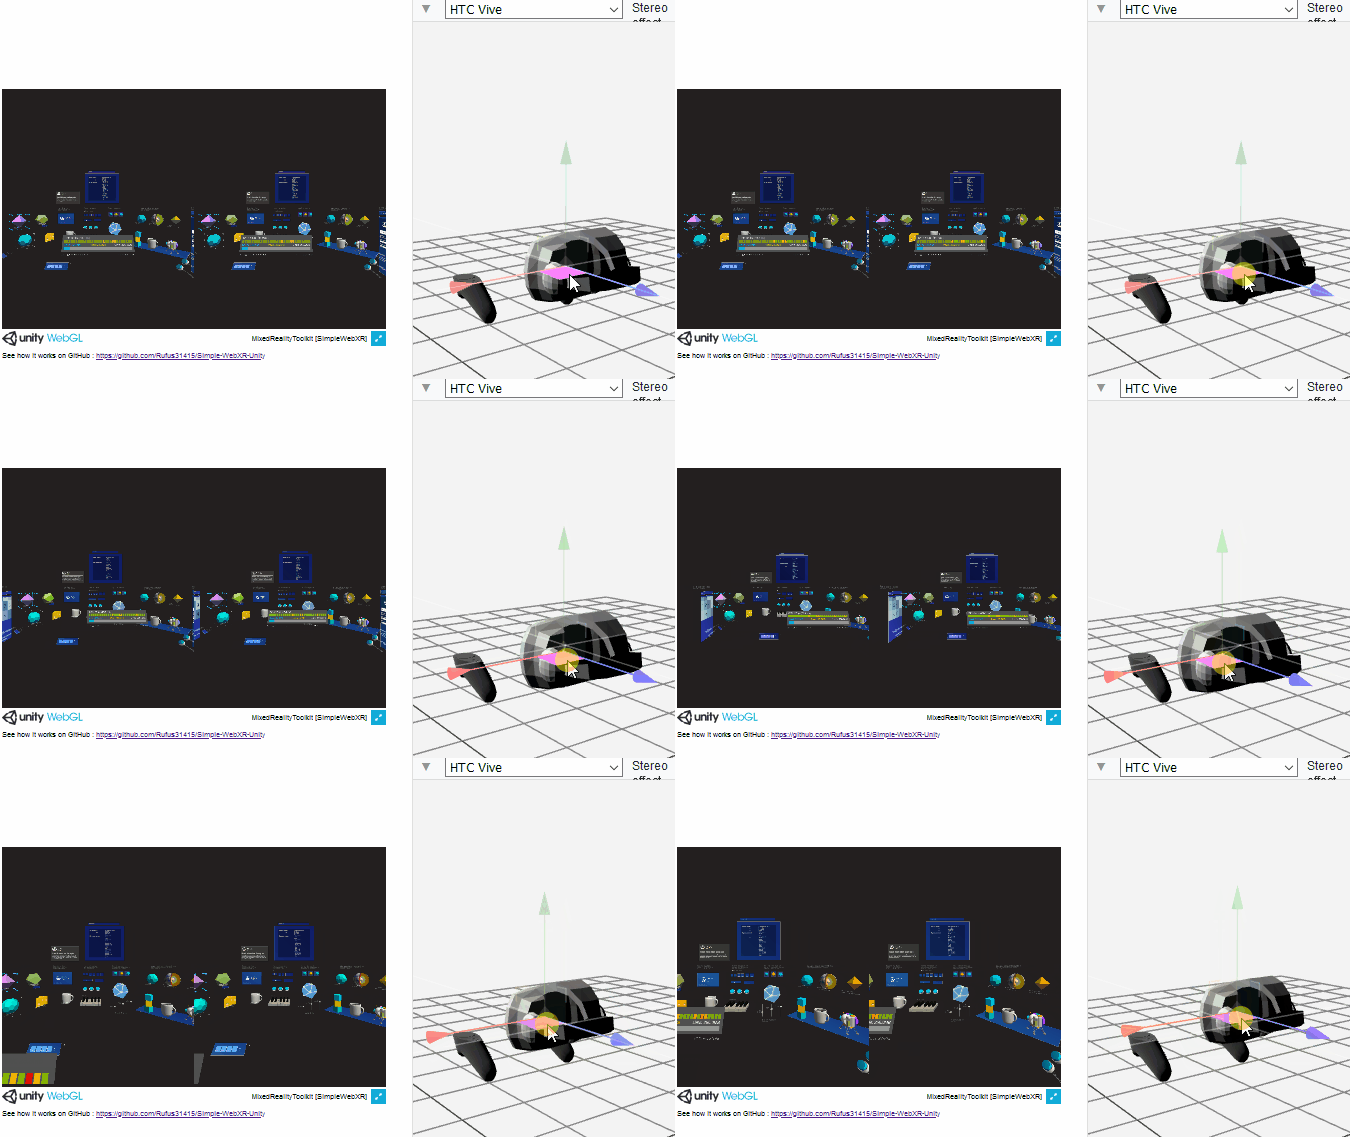
| iOS | Emulator |
|---|---|
 |
 |
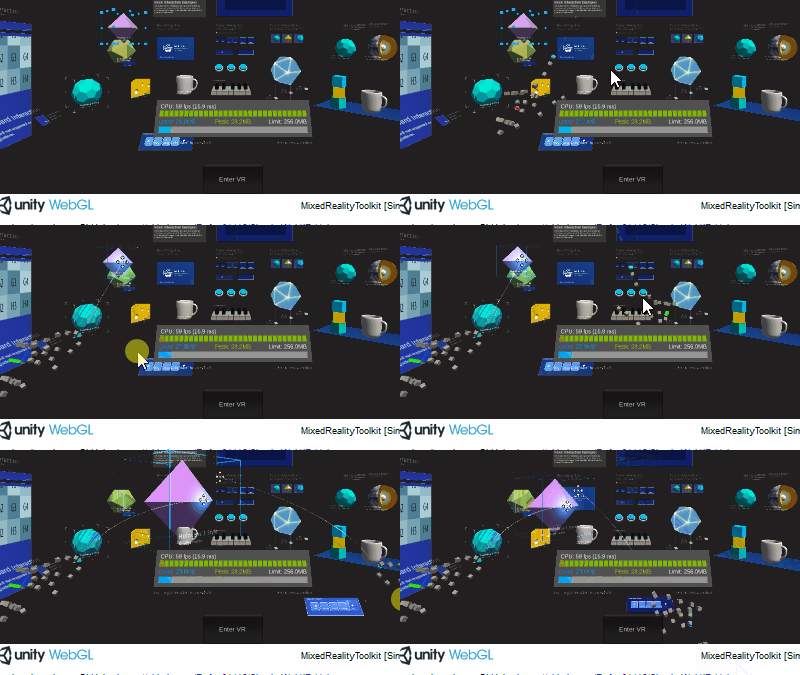
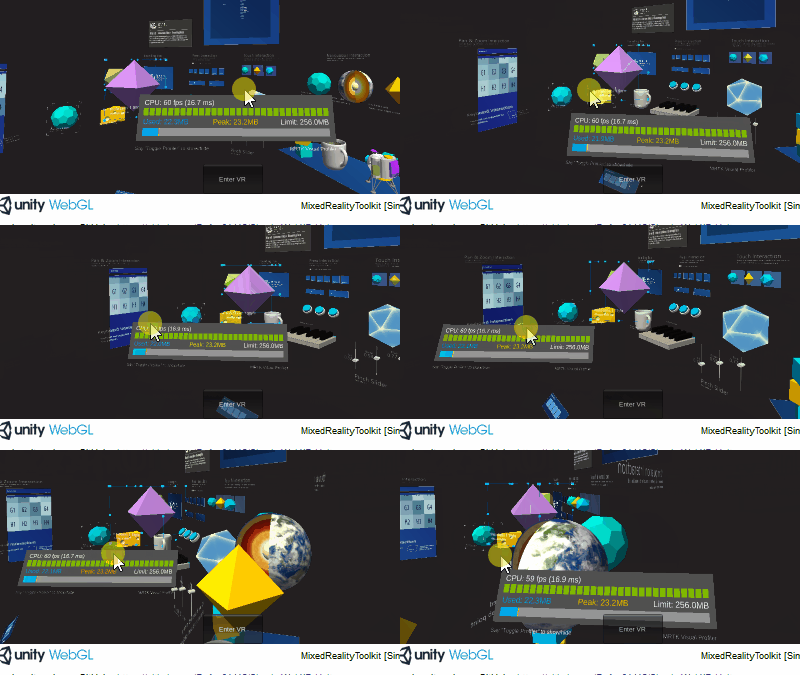
Fun simulation features in browser, you can simulate your Hololens, like in Unity editor :
| Mouse interaction | Hand simulation (MAJ/SPACE and T/Y) | Scene navigation |
|---|---|---|
 |
 |
 |
MRTK version : 2.6.1
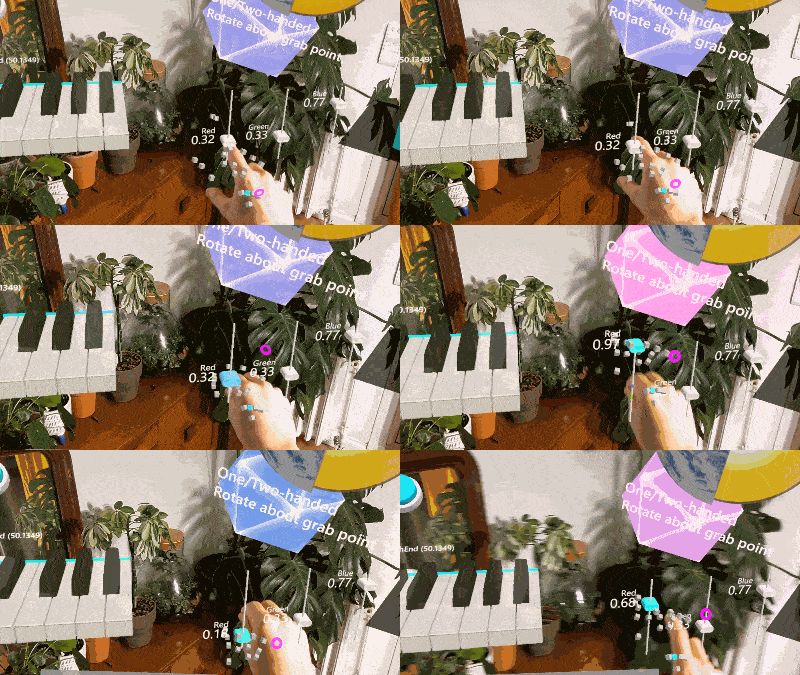
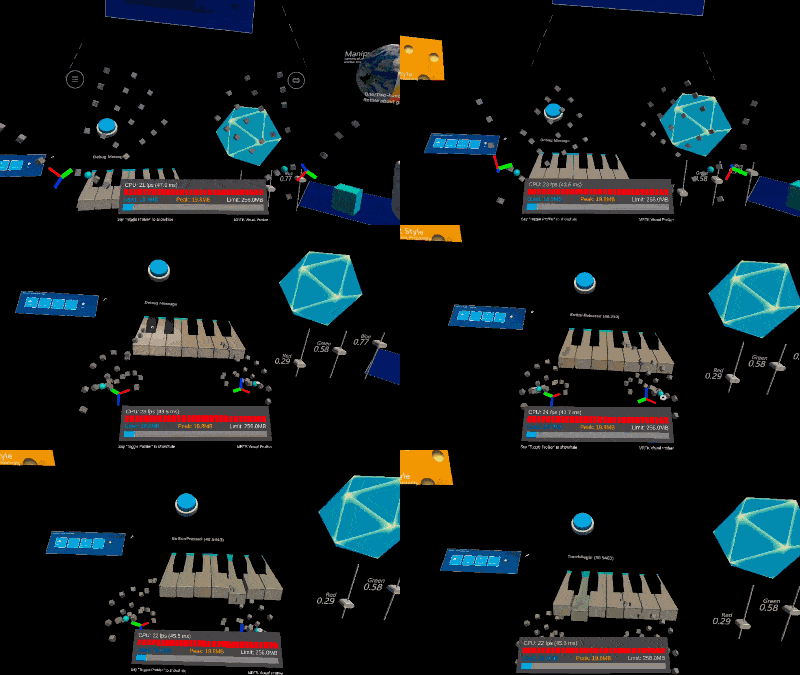
SimpleWebXR supports hand tracking. This example displays a sphere on each joint of the detected hands. The radius of this sphere is given by the device. It was tested on Hololens 2 and Oculus Quest.
You need to set flags to enable hand tracking. In firefox reality, open setting panel and set dom.webxr.hands.enabled to true. In Oculus Browser, visit chrome://flags/ and enable #webxr-hands.
LIVE DEMO :
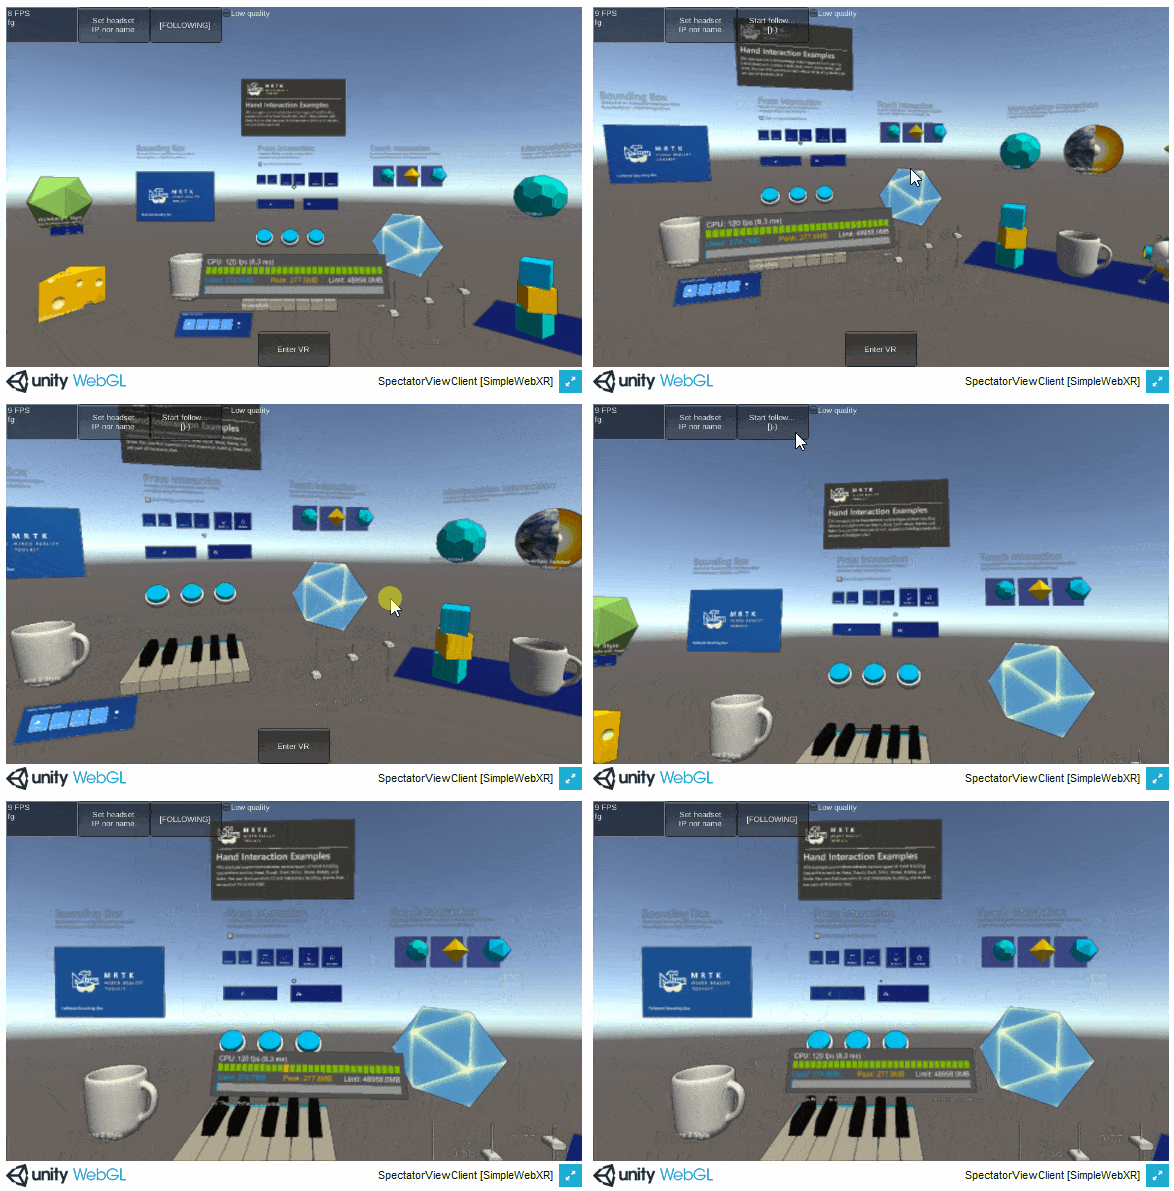
When wearing a HoloLens, we often forget that a person who does not have it on is unable to experience the wonders that we can. Spectator View allows others to see on a 2D screen what a HoloLens user sees in their world. This Microsoft project is a native spectator view app for iOS and Android. But here, the spectator view is in your browser. WebXR is optional because you can walk around the Hololens space with the keyboard and mouse.
LIVE DEMO :
DOWNLOAD : ⏬ Hololens 2 ARM appx and dependencies
Scene for Hololens 2 (MRTK) : /Assets/SimpleWebXR/Scenes/ SpectatorViewHololens2Server.unity. To compile, this scene, do not use UWP SDK 19041, it has socket server issues.
Unity scene for Mobile (WebGL) : /Assets/SimpleWebXR/Scenes/ SpectatorViewWebXRClient.unity
| Mobile | Move in Hololens space with mouse/keyboard or Follow user head |
|---|---|
 |
 |
Comparison with Microsoft solution :
| Simple WebXR Spectator view | Microsoft native spectator view | |
|---|---|---|
| iOS | YES : WebXR Viewer, Safari or Chrome (move in Hololens space with touch screen) | YES (ARKit) |
| Android | YES (Chrome) | YES (ARCore) |
| Desktop | YES, you can move in hololens space with mouse and keyboard | NO |
| Communication Mobile/Hololens | Websocket | WebRTC |
| FPS | 10 | 60 |
| Calibration | Touch the screen | Scan a QR Code |
| Experimental | YES | NO |
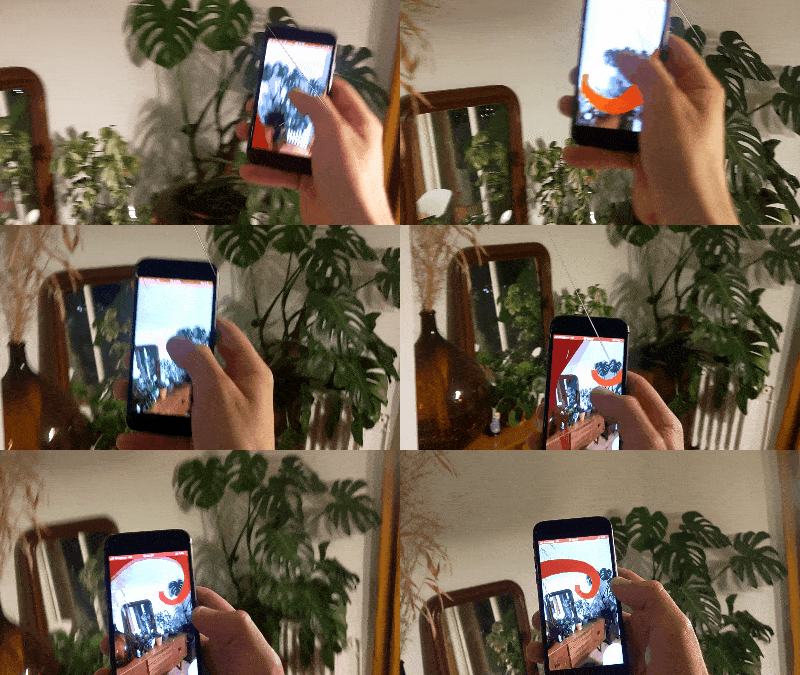
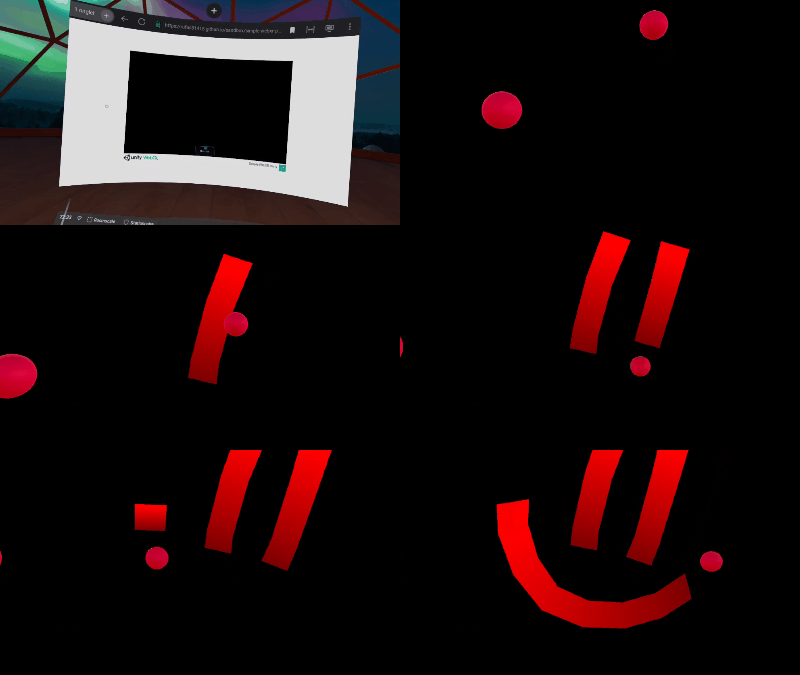
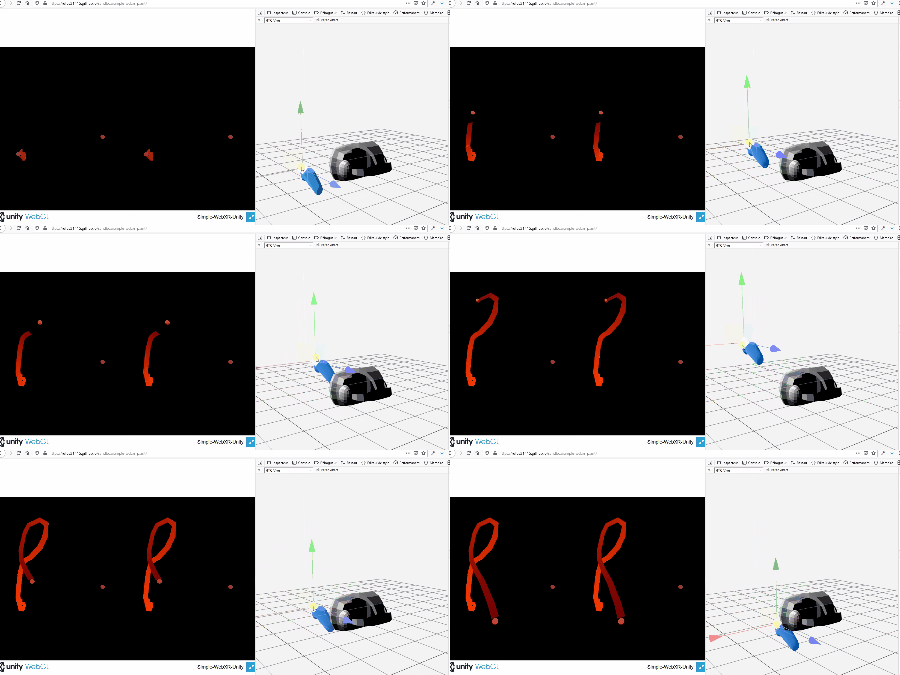
This is a very basic example on how to use Simple WebXR. It uses Unity Line Renderer to draw lines in space with your hands/controllers.
LIVE DEMO :
| Android | Hololens 2 | iOS | Quest | Emulator |
|---|---|---|---|---|
 |
 |
 |
 |
 |
Sources are here
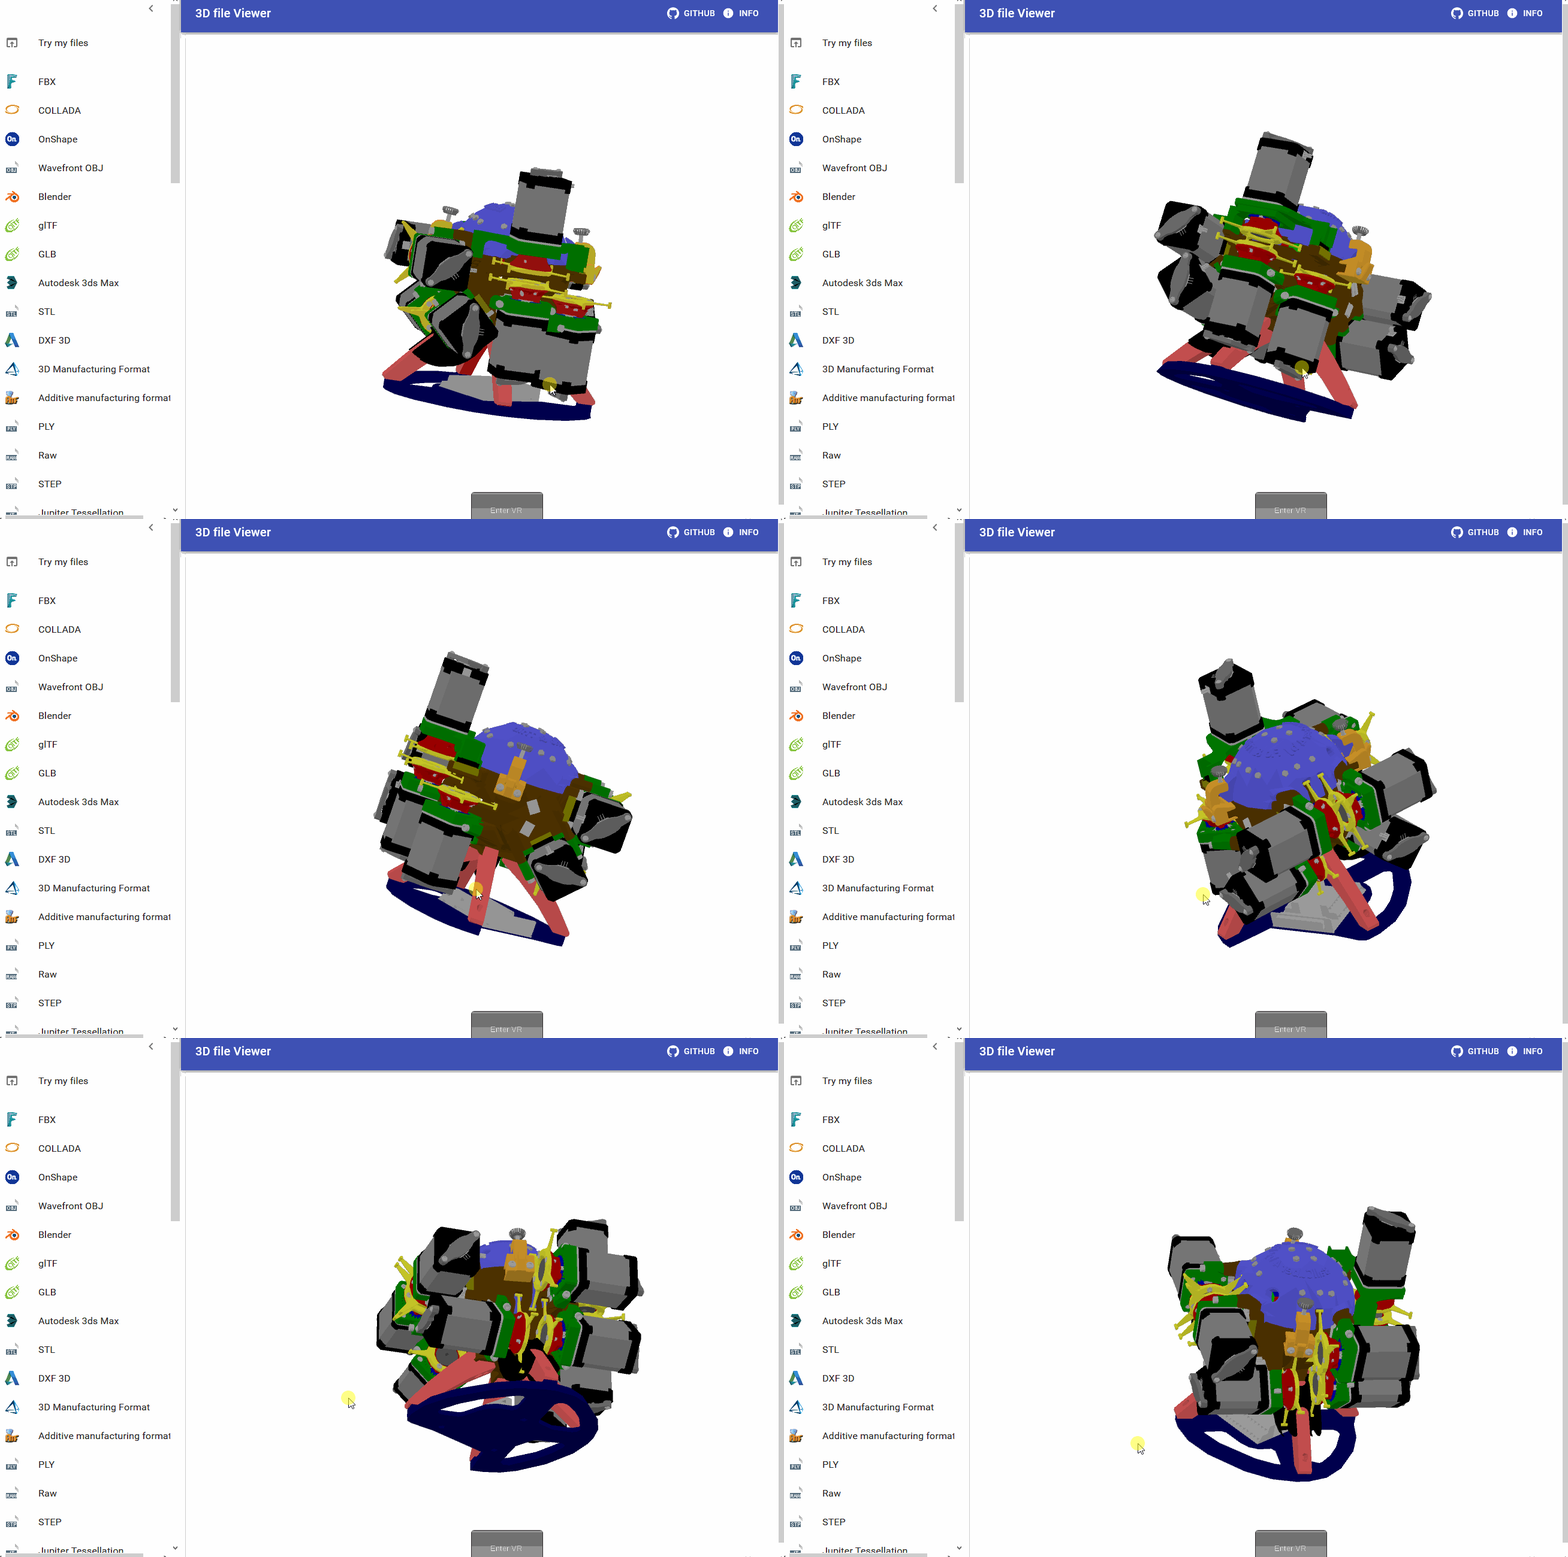
Opens 45+ 3D CAD formats in your browser (FBX, STEP, OBJ, Collada, GLTF, OnShape, ...) and now, view them in VR/AR with WebXR !
LIVE DEMO :
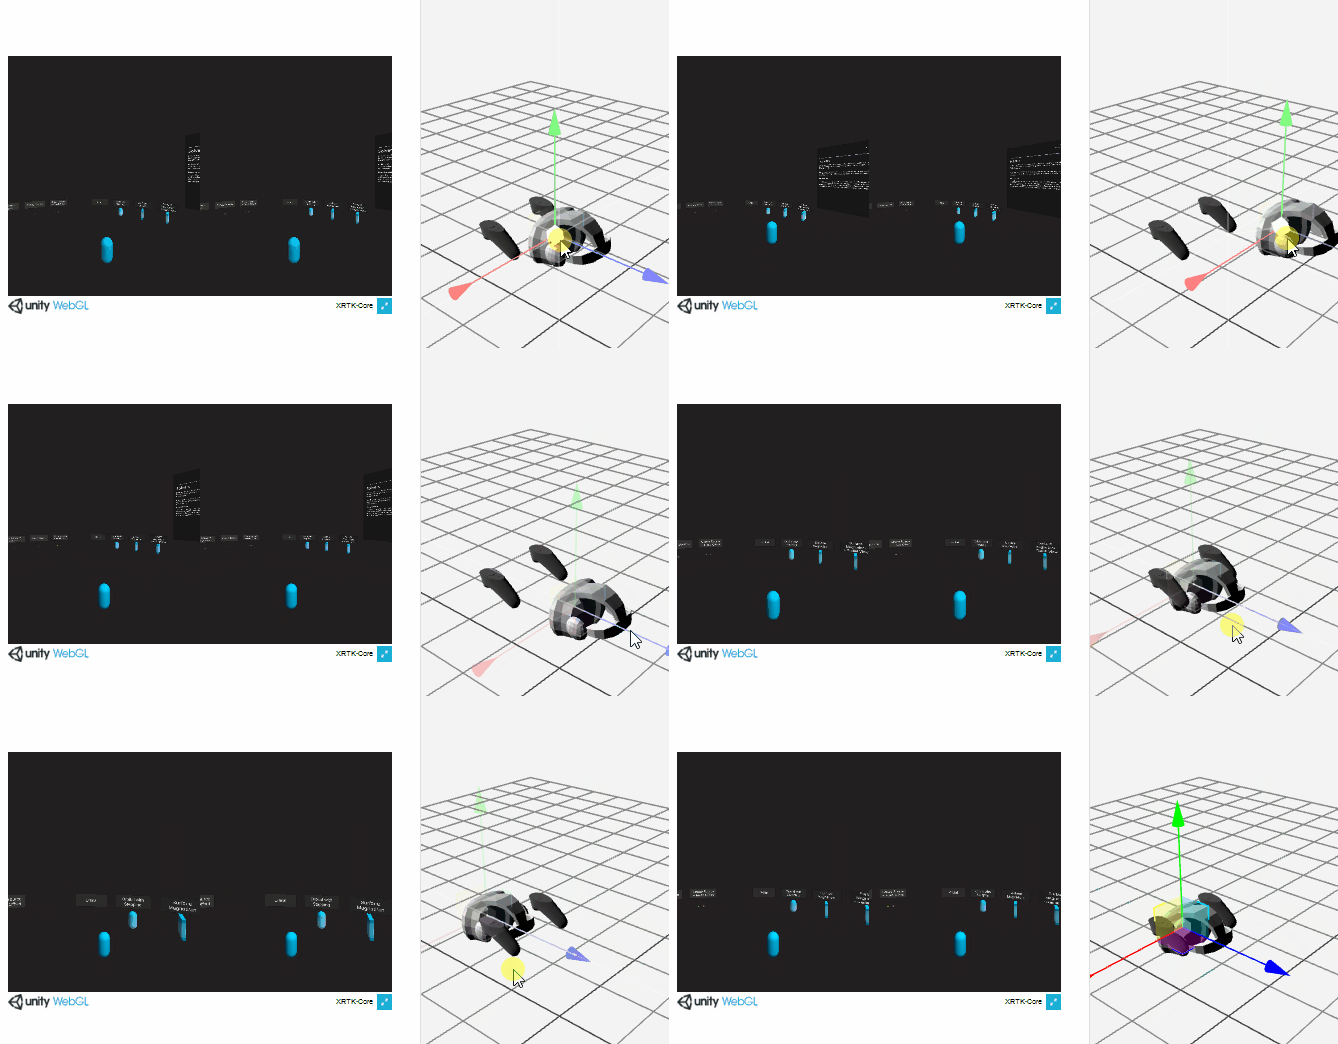
The Mixed Reality Toolkit's primary focus is to make it extremely easy to get started creating Mixed Reality applications and to accelerate deployment to multiple platforms from the same Unity project.
LIVE DEMO :
| iOS | Emulator |
|---|---|
 |
 |
Hand Physics Toolkit (HPTK) is a toolkit to implement hand-driven interactions in a modular and scalable way. Platform-independent. Input-independent. Scale-independent.
I am currently studying the implementation of WebXR in this framework.
Original repo : https://github.com/jorgejgnz/HPTK-Sample
My fork and WebXR implementation : https://github.com/Rufus31415/HPTK-Sample-WebXR
LIVE DEMO :
First create a new 3D project
Download the latest release of SimpleWebXR : https://github.com/Rufus31415/Simple-WebXR-Unity/releases
SimpleWebXR.unitypackage: contains only SimpleWebXR and its demo scenesSimpleWebXR+MRTK.unitypackage: contains SimpleWebXR addon for MRTK. MRTK should be initialized in your project, see : https://docs.microsoft.com/windows/mixed-reality/mrtk-unity/
Open the unitypackage file and import all resources : in tab Project, right click on Assets > Import Package > Custom Package
From the directory Assets/SimpleWebXR/Example/Scenes, just drag/drop a scene (for example the PaintExample) in the tab "Hierarchy"
. You can play the scene, but it won't do anything (except if you are playing a MRTK sample).
Then, build the scene : File > Build Settings.... Remove all scenes from the list and click Add open scenes so that you only get the scene we are going to build.
Select the WebGL plateform and click Switch platform. Then click the Build button and create and select a Build directory next to Assets.
Your browser should be compatible with WebXR. For a first try, you can install the emulator :
- For Chrome : https://chrome.google.com/webstore/detail/webxr-api-emulator/mjddjgeghkdijejnciaefnkjmkafnnje
- For Firefox : https://addons.mozilla.org/firefox/addon/webxr-api-emulator
You now need a http server to serve you files. I recommend this one : https://www.npmjs.com/package/http-server
- Just download node.js : https://nodejs.org/
- install the server in your system with the command
npm install --global http-server
You can now open a command line in your directory Build and run http-server. Open your browser to the url : http://120.0.0.1:8080 then open the inspector and you should have a tab "WebXR" from where you can select your simulated device. You can move the controllers and the headset from here.
Now click the button "Start VR" to enter in immersion. Congrats !
You can continue to host the page on your PC and serve it to other devices. The difficulty is that most browsers require a secure context for WebXR, i.e. https or localhost.
So it's a bit more complicated, but not impossible ;) ! First you need a certificate :
- Download openssl. If you are on windows, download
binariesfrom : http://gnuwin32.sourceforge.net/packages/openssl.htm - Extract and run the command :
openssl req -newkey rsa:2048 -new -nodes -x509 -days 3650 -keyout key.pem -out cert.pem -config **PATH_TO_OPENSSL**\share\openssl.cnfwhere PATH_TO_OPENSSL is the absolute path to the directory you just extracted. - This will generate the files
cert.pemandkey.pem - Move these files in your Build directory
To serve your files, you should now run http-server -S -C cert.pem in your Build directory. You will see in the console all the URLs where the build is accessible. In your smartphone or headset, type the one with the same subnetwork than your PC. Ensure that your firewall accepts the request. On your device, the browser will say the page is not secure, but anyway, you can continue ;)
Just add these 3 files in your Unity Asset folder, then add SimpleWebXR MonoBehavior on a game object in your scene.
- SimpleWebXR.cs: Mono Behaviour that displays the "Start AR" button and communicates with javascript. This behavior should be in your scene.
- SimpleWebXR.jslib: Javascript plugin that is included in the application and that makes the link between the Unity engine and the WebXR session. It displays the rendering and obtains the positions and characteristics of the camera.
- SimpleWebXR.jspre: Javascript plugin executed before the application that initializes a number of things.
Download the latest release of SimpleWebXR from : https://github.com/Rufus31415/Simple-WebXR-Unity/releases
SimpleWebXR.unitypackage: contains only SimpleWebXR and its demo scenesSimpleWebXR+MRTK.unitypackage: contains SimpleWebXR addon for MRTK. MRTK should be initialized in your project, see : https://docs.microsoft.com/windows/mixed-reality/mrtk-unity/
You can add the package com.rufus31415.simplewebxrfrom the Package Manager. Go to Window > Package Manager Click the button + > add package from git URL and enter https://github.com/Rufus31415/Simple-WebXR-Unity.git?path=/com.rufus31415.simplewebxr/, after clicking on add it can take minutes even if Unity doesn't seem busy.
For the bravest, you can edit the file Packages/manifest.json so that it contains the line :
{
  "dependencies": {
    "com.rufus31415.simplewebxr": "https://github.com/Rufus31415/Simple-WebXR-Unity.git?path=/com.rufus31415.simplewebxr/",
    ...
    ...
  }
}You can use the examples provided in this repository as a starting point.
All sample builds can be dowloaded as a zip file from here : ⏬ https://github.com/Rufus31415/rufus31415.github.io/tree/master/webxr
The project must be compiled in WebGL, otherwise SimpleWebXR will have no effect. You can use the "Demo" WebGL template that is provided, but you can also use the Default one. The project has been tested with Unity 2018.4 and Unity 2020.3.
When compiled as a WebGL app, if the browser is WebXR compatible, it will display a "Start AR" or "Start VR" button on your canvas. You don't need a specific WebGL Template, so you can keep using yours.
To begin with, it is recommended to have the SimpleWebXR component active in the scene at all times. I recommend you to create a root game object "WebXR" which contains only the SimpleWebXR component.
This one will manage two things:
- It will display the "Start AR" or "Start VR" button at the bottom of the canvas, and will start the session if the user presses it.
- It will call to each frame the function
SimpleWebXR.UpdateWebXR().
However SimpleWebXR may not be present as a component game object in the scene, but you will have to call the static function SimpleWebXR.UpdateWebXR() by yourself at each frame.
You can also add this component by code by calling the static method SimpleWebXR.EnsureInstance(). The SimpleWebXR component does not exist, it will create it on a root game object "WebXR".
If the SimpleWebXR component is active in the scene, it will automatically display a button that allows the user to start an immersive WebXR session.
You can hide this button by checking the field Hide Start Button.
In addition, you can at any time in the main thread start an immersive session from your code via the static method :
SimpleWebXR.StartSession();You can also end an immersive session by calling :
SimpleWebXR.EndSession();In addition, the following static events are raised when an immersive session starts or stops :
⚡️ UnityEvent SimpleWebXR.SessionStart
⚡️ UnityEvent SimpleWebXR.SessionEnd

SimpleWebXR.SessionStart.AddListener(OnSessionStart); // OnSessionStart() is a method in your code called when a session starts
SimpleWebXR.SessionEnd.AddListener(OnSessionEnd); // OnSessionEnd() is a method in your code called when a session startsTo find out if the current browser supports WebXR, you can call these static methods from anywhere in your code:
bool isARSupported = SimpleWebXR.IsARSupported(); // 'immersive-ar' feature is supported
bool isVRSupported = SimpleWebXR.IsVRSupported(); // 'immersive-vr' feature is supported
Warning: the result of the request is asynchronous in javascript. It may be necessary to call these functions several times or to wait to get the result. For example, the SimpleWebXR component requests the capabilities at each frame in the OnGUI() function.
The static property SimpleWebXR.InSession indicates whether a WebXR immersive session is in progress.
bool isInWebXRSession = SimpleWebXR.InSession;On a smartphone and tablets, only one camera is required. But on HMD (head mounted headset), a different rendering is made for each eye, so there are two active cameras.
At the start of the session, the left eye is equal to Camera.Main. If necessary a camera is created for the left eye. The characteristics of these cameras are modified at startup (clearFlags, background, clip planes, ...).
During a session, the pose and the projection matrix are updated when SimpleWebXR.UpdateWebXR() is called.
The second camera (right eye) is destroyed at the end of the immersive session.
Camera leftEye = SimpleWebXR.LeftEye; // == Camera.Main
Camera rightEye = SimpleWebXR.RightEye; // == null on smartphones and tabletsThe SimpleWebXR.LeftInput and SimpleWebXR.RightInput fields represent left and right controllers. On smartphones either of these input sources can be used (it depends on the browser) and corresponds to the place where the user touched the screen.
WebXRInputSource leftInput = SimpleWebXR.LeftInput;
WebXRInputSource rightInput = SimpleWebXR.RightInput;class WebXRInputSource {
// ⚡️ Event triggered when the browser triggers a XRSession.selectend event, which means the input source has fully completed its primary action.
// On Oculus Quest : Back trigger button was pressed
// On Hololens 2 : A air tap has been was performed
// On smartphones : The screen was touched
public readonly UnityEvent Select;
// ⚡️ Event triggered when the browser triggers a XRSession.selectstart event, which means the input source begins its primary action.
public readonly UnityEvent SelectStart;
// ⚡️ Event triggered when the browser triggers a XRSession.selectend event, which means the input source ends its primary action.
public readonly UnityEvent SelectEnd;
// ⚡️ Event triggered when the browser triggers a XRSession.selectend event, which means the input source has fully completed its primary squeeze action.
// On Oculus Quest : Side grip button was pressed
public UnityEvent Squeeze;
// ⚡️ Event triggered when the browser triggers a XRSession.selectstart event, which means the input source begins its primary squeeze action.
public UnityEvent SqueezeStart;
// ⚡️ Event triggered when the browser triggers a XRSession.selectend event, which means the input source ends its primary squeeze action.
public UnityEvent SqueezeEnd;
// Indicates if the input source exists
public bool Available;
// Handedness of the input source
// WebXRHandedness.Left : left input source
// WebXRHandedness.Right : right input source
public WebXRHandedness Handedness;
// Indicates that the input source is detected and its position is tarcked
public bool IsPositionTracked;
// Current position of the input source if the position is tracked
public Vector3 Position;
// Current rotation of the input source if the position is tracked
public Quaternion Rotation;
// Number of axes available for this input source
public int AxesCount;
// Current value of each axes
public float[] Axes;
// Number of button for this input source
public int ButtonsCount = 0;
// Current state of each buttons
public readonly WebXRGamepadButton[] Buttons;
// Describes the method used to produce the target ray, and indicates how the application should present the target ray to the user if desired.
// WebXRTargetRayModes.None : No event has yet identified the target ray mode
// WebXRTargetRayModes.TrackedPointer : The target ray originates from either a handheld device or other hand-tracking mechanism and represents that the user is using their hands or the held device for pointing. The orientation of the target ray relative to the tracked object MUST follow platform-specific ergonomics guidelines when available. In the absence of platform-specific guidance, the target ray SHOULD point in the same direction as the user’s index finger if it was outstretched.
// WebXRTargetRayModes.Screen : The input source was an interaction with the canvas element associated with an inline session’s output context, such as a mouse click or touch event.
// WebXRTargetRayModes.Gaze : The target ray will originate at the viewer and follow the direction it is facing. (This is commonly referred to as a "gaze input" device in the context of head-mounted displays.)
public WebXRTargetRayModes TargetRayMode;
//The input source primary action is active
// On Oculus Quest : Back trigger button is pressed
// On Hololens 2 : A air tap is performed
// On smartphones : The screen is touched
public bool Selected;
// The input source primary squeeze action is active
// On Oculus Quest : Side grip button is pressed
public bool Squeezed;
// Constains hand joints poses, if hand tracking is enabled
public WebXRHand Hand;
// Applies haptic pulse feedback to a controller
// intensity : Feedback strength between 0 and 1
// duration : Feedback duration in milliseconds
public void HapticPulse(float intensity, float duration)
}Also, the events select, squeeze, ... can be handled at the SimpleWebXR class level via the following WebXRInputEvent static events where the first argument is the input source that raised it.
⚡️ WebXRInputEvent SimpleWebXR.InputSourceSelect
⚡️ WebXRInputEvent SimpleWebXR.InputSourceSelectStart
⚡️ WebXRInputEvent SimpleWebXR.InputSourceSelectEnd
⚡️ WebXRInputEvent SimpleWebXR.InputSourceSqueeze
⚡️ WebXRInputEvent SimpleWebXR.InputSourceSqueezeStart
⚡️ WebXRInputEvent SimpleWebXR.InputSourceSqueezeEnd

// Event triggered when a input sources has been added or removed.
⚡️ UnityEvent SimpleWebXR.InputSourcesChange
Similarly, haptic feedback on controllers can also be called at the static SimpleWebXR class level.
  // Applies haptic pulse feedback to a controller
  // hand : Left or Right
  // intensity : Feedback strength between 0 and 1
  // duration : Feedback duration in milliseconds
public static void HapticPulse(WebXRHandedness hand, float intensity, float duration)WebXRGamepadButton Describes a button, trigger, thumbstick, or touchpad data.
This class maps the information retrieved in javascript via the WebXR Gamepads Module API : https://www.w3.org/TR/webxr-gamepads-module-1
class WebXRGamepadButton {

  // The amount which the button has been pressed, between 0.0 and 1.0, for buttons that have an analog sensor
  public float Value;

  // The touched state of the button
  public bool Touched;

  // The pressed state of the button
  public bool Pressed;
}WebXRHand describes the poses of hand skeleton joints
This class maps the information retrieved in javascript via the WebXR Hand Input Module API : https://www.w3.org/TR/webxr-hand-input-1
class WebXRHand {

  // Indicates if hand tracking is available
  public bool Available;

  // Poses of hand skeleton joints
  public WebXRJoint[] Joints;

  // 25 joints are tracked
  public const int JOINT_COUNT = 25;

  // Index of each joint in Joints array :
  public const int WRIST = 0;

  public const int THUMB_METACARPAL = 1;
  public const int THUMB_PHALANX_PROXIMAL = 2;
  public const int THUMB_PHALANX_DISTAL = 3;
  public const int THUMB_PHALANX_TIP = 4;

  public const int INDEX_METACARPAL = 5;
  public const int INDEX_PHALANX_PROXIMAL = 6;
  public const int INDEX_PHALANX_INTERMEDIATE = 7;
  public const int INDEX_PHALANX_DISTAL = 8;
  public const int INDEX_PHALANX_TIP = 9;

  public const int MIDDLE_METACARPAL = 10;
  public const int MIDDLE_PHALANX_PROXIMAL = 11;
  public const int MIDDLE_PHALANX_INTERMEDIATE = 12;
  public const int MIDDLE_PHALANX_DISTAL = 13;
  public const int MIDDLE_PHALANX_TIP = 14;

  public const int RING_METACARPAL = 15;
  public const int RING_PHALANX_PROXIMAL = 16;
  public const int RING_PHALANX_INTERMEDIATE = 17;
  public const int RING_PHALANX_DISTAL = 18;
  public const int RING_PHALANX_TIP = 19;

  public const int LITTLE_METACARPAL = 20;
  public const int LITTLE_PHALANX_PROXIMAL = 21;
  public const int LITTLE_PHALANX_INTERMEDIATE = 22;
  public const int LITTLE_PHALANX_DISTAL = 23;
  public const int LITTLE_PHALANX_TIP = 24;
}WebXRJoint describes a joint of a hand. Each hand is made up many bones, connected by joints.
class WebXRJoint {

  // Position of the joint
  public Vector3 Position;

  // Rotatiuon of the joint
  public Quaternion Rotation;

  // Optional joint radius that can be used to represent the joint has a sphere.
  // float.NaN if not supported
  public float Radius;
}- https://immersive-web.github.io/ : Many useful examples
- https://www.w3.org/TR/webxr : technical details of webxr
- https://github.com/MozillaReality/unity-webxr-export : a WebXR export plugin developed by Mozilla (much more complicated than this one, which is based on a js template and external js resources)
- https://github.com/De-Panther/unity-webxr-export : A fork of Mozilla plugin that works in AR and VR (Btw, thanks to De-Panther for his useful help !).
See the license file for details.
You are more than welcome to sponsor me !
In order to maintain SimpleWebXR and ensure its proper functioning on all platforms, I have to acquire a lot of expensive equipment.
I currently have: Microsoft Hololens 2, Oculus Quest 1 & 2, Acer WMR Headset, iPad and iPhone.
What I would like to buy soon : Magic Leap, Android tablet and smartphone
| Sponsors |
||
|---|---|---|
Feel free to contact me :
- Slack : https://holodevelopers.slack.com/team/U0120CVDUCV
- Discord : Rufus31415#2440
- Twitter : https://twitter.com/rufus31415
- Mail : rufus31415@gmail.com
- Clubhouse : @fgi
- Open issue : https://github.com/Rufus31415/Simple-WebXR-Unity/issues

