PaintingLight is a project conducted by the Style2Paints team, aimed at finding a method to manipulate the illumination in digital paintings. The project started at about 2019 January, and the core algorithm is accepted by ACM Transitions on Graphics at 2020.
Because digital painting illumination data is not easy to obtain, this algorithm does not use deep learning. The core idea is to make use of color geometry to build up a perceptually workable relighting system. Such relighting may not be physically accurate, but are good enough for artistic use cases.
Note that the project is still in its technical researching stage. If you are a digital painting artist and you accidentally find this page, you may have to wait for our ongoing PhotoShop plug-in for practical usages.
Please refer to our project page for our TOG/SIGGRAPH paper.
(c) artwork traced by ToS2P from an artwork by David Revoy under CC-BY license, www.peppercarrot.com
(c) artwork traced by ToS2P from an artwork by David Revoy under CC-BY license, www.peppercarrot.com
The codes have been tested for python 3.6 in both Windows 10 and Ubuntu 16.04. (If you use windows then python 3.6 is a must.)
To download codes:
git clone https://github.com/lllyasviel/PaintingLight.git
cd PaintingLight
cd code
To install some environment:
pip install opencv-python
pip install opencv-contrib-python
pip install h5py
To install some super accurate environment:
pip install tensorflow==1.4.0
pip install scipy==1.1.0
pip install trimesh==2.37.1
Then install the rtree package. The original rtree does not support windows, nevertheless here I provide a windows binary so that you can directly install it.
(linux only) sudo apt install libspatialindex-dev
(linux only) pip install rtree==0.9.3

(windows only) pip install Rtree-0.9.3-cp36-cp36m-win_amd64.whl
To install pyembree to enable GPU ray tracing:
(Optional, you can skip this step if you do not care about speed.)
You may directly play with our interactive examples!
The image noise artifacts in this webpage is caused by web GIF compression.
These artifacts do not exist when you try on your own.
 |
* Example 002 * Not need a mask * Input image "002.jpg" To try it: --- >> python example002.py --- Image has copyrights. |
|---|
 |
* Example 003 * Not need a mask * Input image "003.jpg" To try it: --- >> python example003.py --- Image has copyrights. |
|---|
 |
* Example 004 * Not need a mask * Input image "004.jpg" To try it: --- >> python example004.py --- Image has copyrights. |
|---|
 |
* Example 005 * Not need a mask * Input image "005.jpg" To try it: --- >> python example005.py --- Image has copyrights. |
|---|
 |
* Example 006 * Not need a mask * Input image "006.jpg" To try it: --- >> python example006.py --- Image has copyrights. |
|---|
 |
* Example 007 * Not need a mask * Input image "007.jpg" To try it: --- >> python example007.py --- Image has copyrights. |
|---|
 |
* Example 008 * Not need a mask * Input image "008.jpg" To try it: --- >> python example008.py --- Image has copyrights. |
|---|
 |
* Example 009 * Not need a mask * Input image "009.jpg" To try it: --- >> python example009.py --- Image has copyrights. |
|---|
 |
* Example 010 * Not need a mask * Input image "010.jpg" To try it: --- >> python example010.py --- Image has copyrights. |
|---|
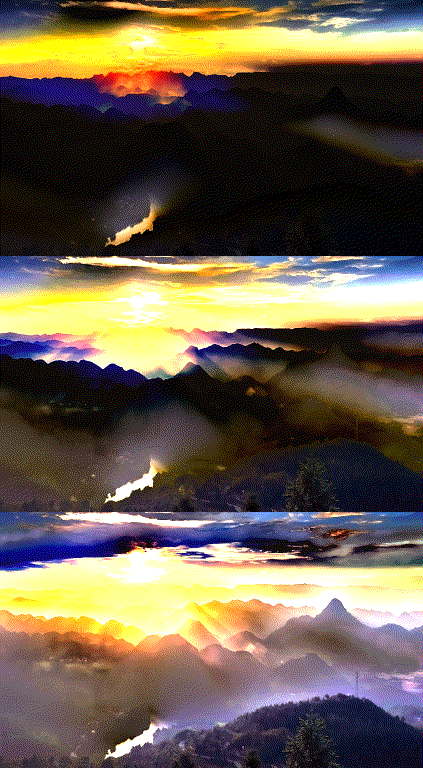 |
* Example 011 * Not need a mask * Input image "011.jpg" To try it: --- >> python example011.py --- Image has copyrights. |
|---|
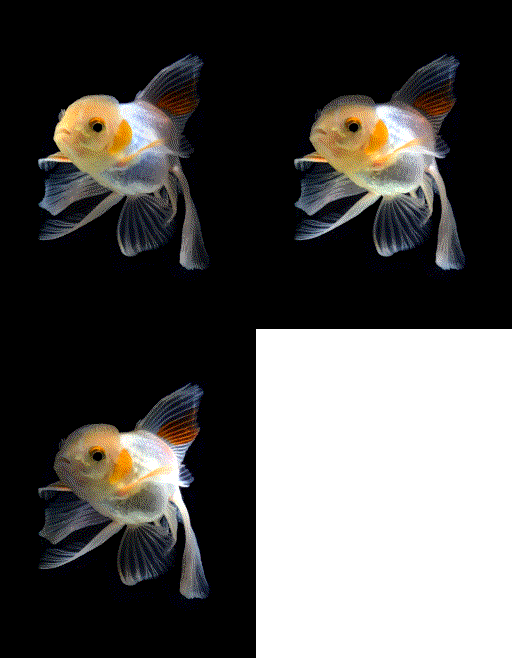 |
* Example 012 * Not need a mask * Input image "012.jpg" To try it: --- >> python example012.py --- Image has copyrights. |
|---|
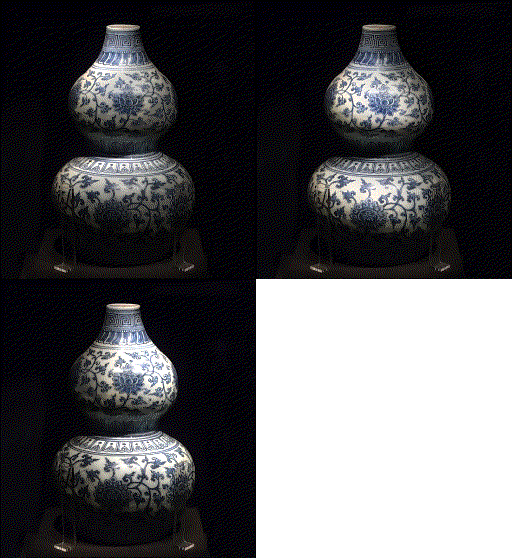 |
* Example 013 * Not need a mask * Input image "013.jpg" To try it: --- >> python example013.py --- Image has copyrights. |
|---|
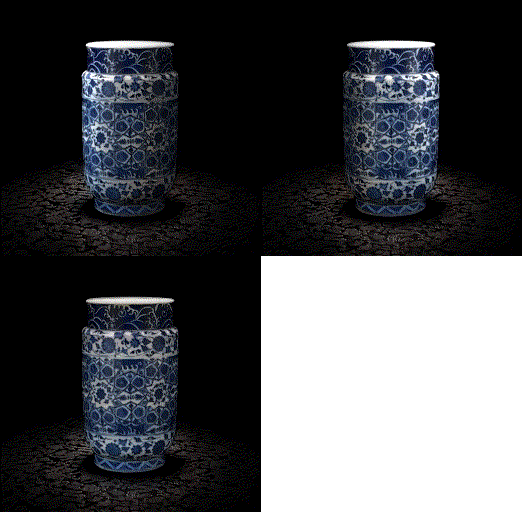 |
* Example 014 * Not need a mask * Input image "014.jpg" To try it: --- >> python example014.py --- Image has copyrights. |
|---|
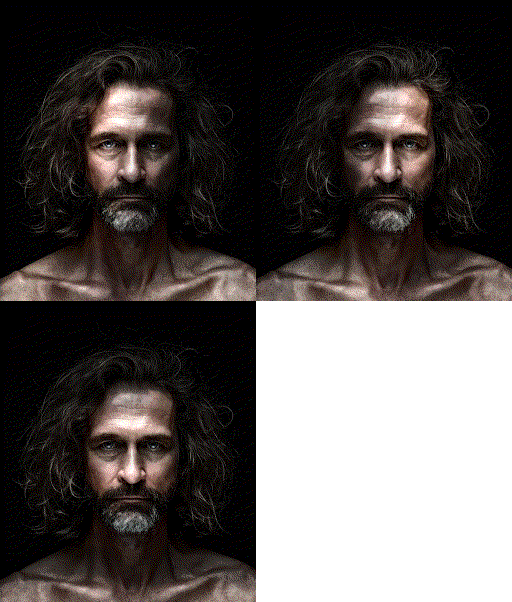 |
* Example 015 * Not need a mask * Input image "015.jpg" To try it: --- >> python example015.py --- Image has copyrights. |
|---|
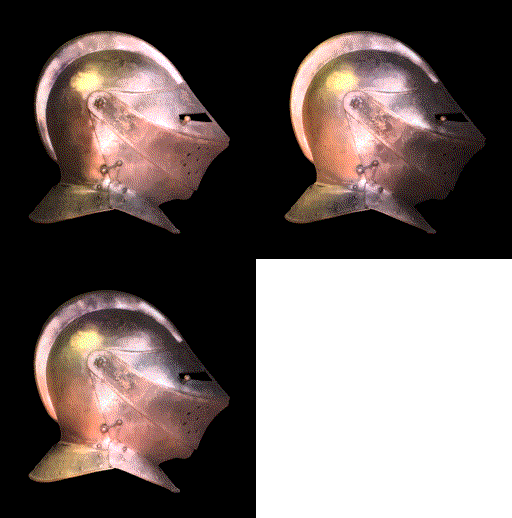 |
* Example 016 * Not need a mask * Input image "016.jpg" To try it: --- >> python example016.py --- Image has copyrights. |
|---|
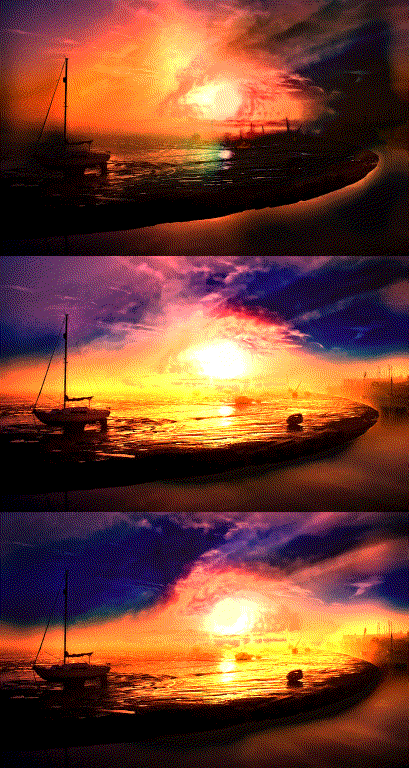 |
* Example 017 * Not need a mask * Input image "017.jpg" To try it: --- >> python example017.py --- Image has copyrights. |
|---|
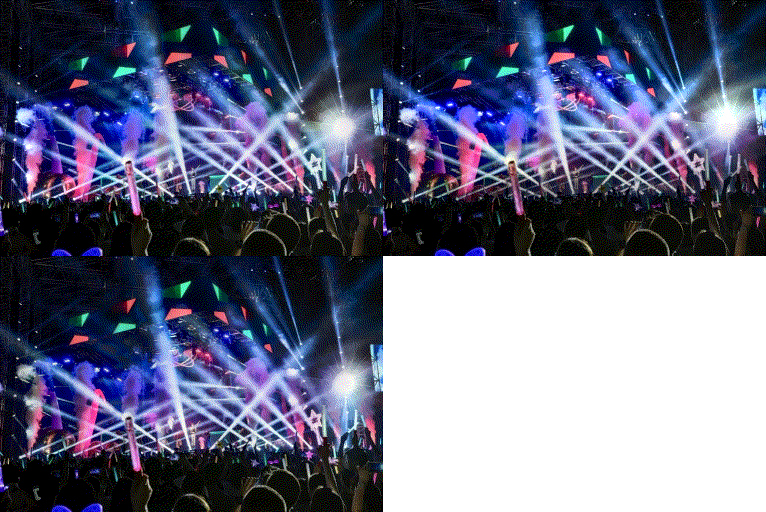 |
* Example 018 * Not need a mask * Input image "018.jpg" To try it: --- >> python example018.py --- Image has copyrights. |
|---|
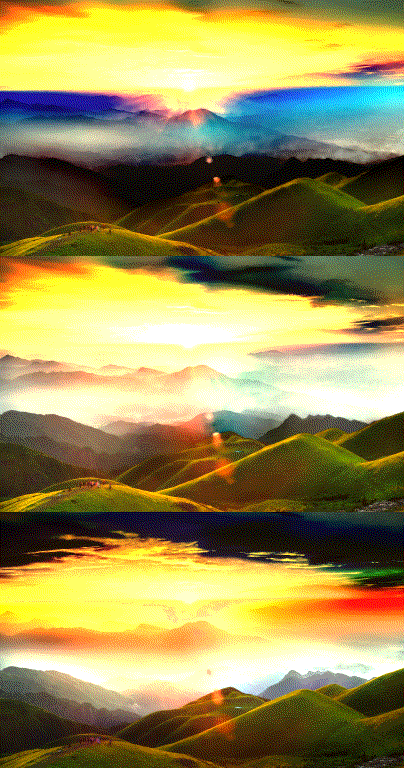 |
* Example 019 * Not need a mask * Input image "019.jpg" To try it: --- >> python example019.py --- Image has copyrights. |
|---|
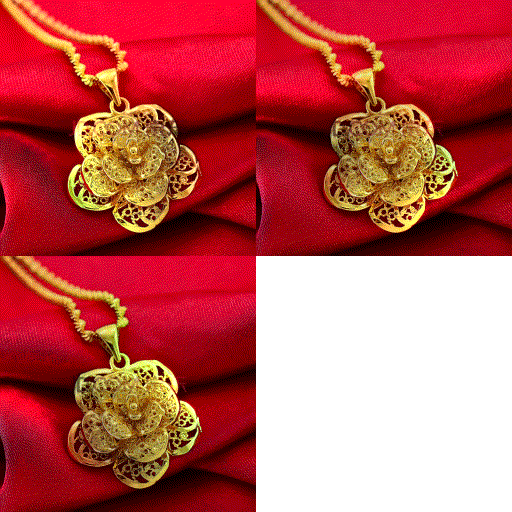 |
* Example 020 * Not need a mask * Input image "020.jpg" To try it: --- >> python example020.py --- Image has copyrights. |
|---|
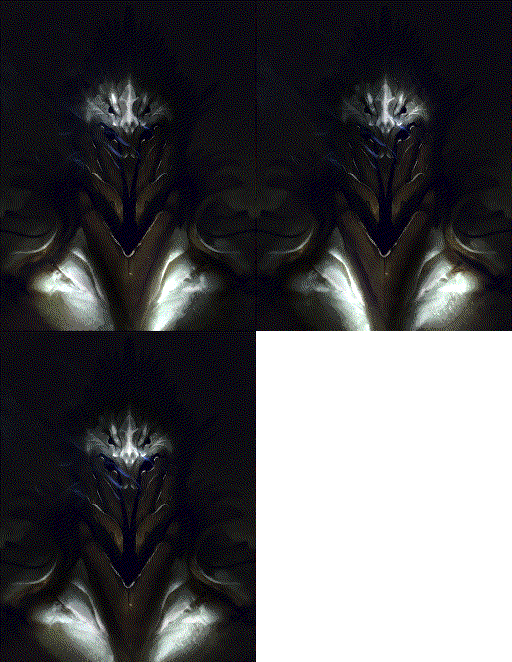 |
* Example 021 * Not need a mask * Input image "021.jpg" To try it: --- >> python example021.py --- Image has copyrights. |
|---|
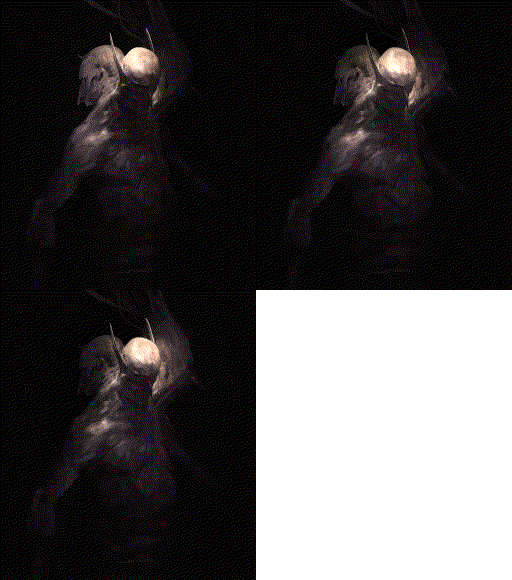 |
* Example 022 * Not need a mask * Input image "022.jpg" To try it: --- >> python example022.py --- Image has copyrights. |
|---|
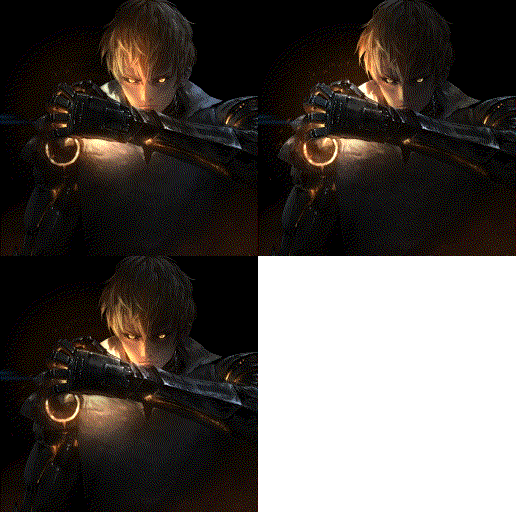 |
* Example 023 * Not need a mask * Input image "023.jpg" To try it: --- >> python example023.py --- Image has copyrights. |
|---|
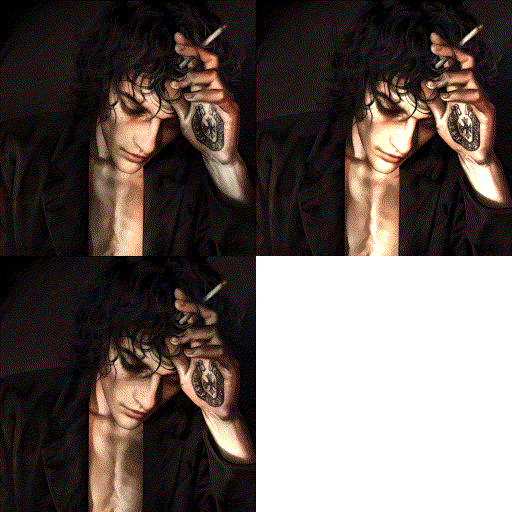 |
* Example 024 * Not need a mask * Input image "024.jpg" To try it: --- >> python example024.py --- Image has copyrights. |
|---|
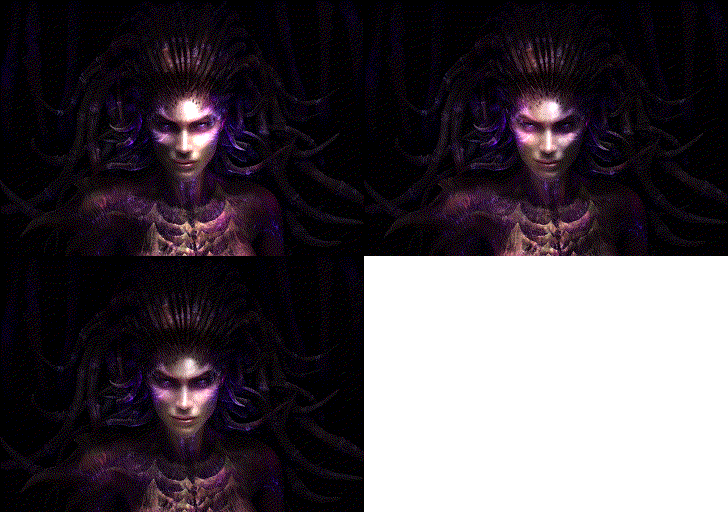 |
* Example 025 * Not need a mask * Input image "025.jpg" To try it: --- >> python example025.py --- Image has copyrights. |
|---|
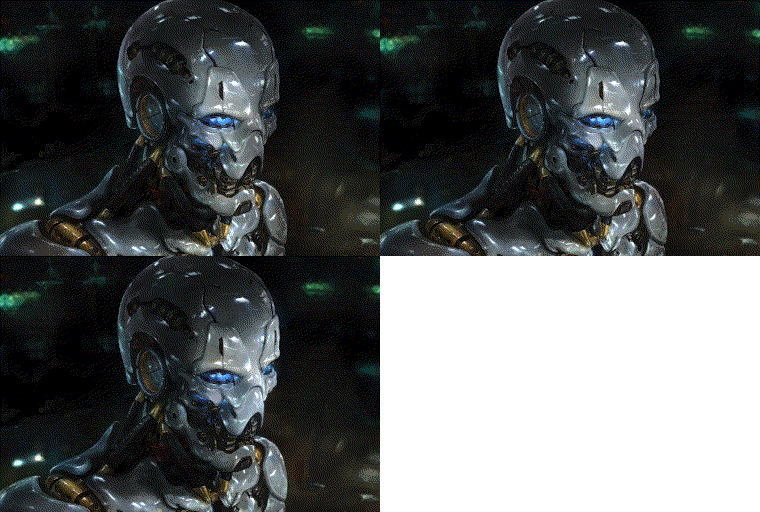 |
* Example 026 * Not need a mask * Input image "026.jpg" To try it: --- >> python example026.py --- Image has copyrights. |
|---|
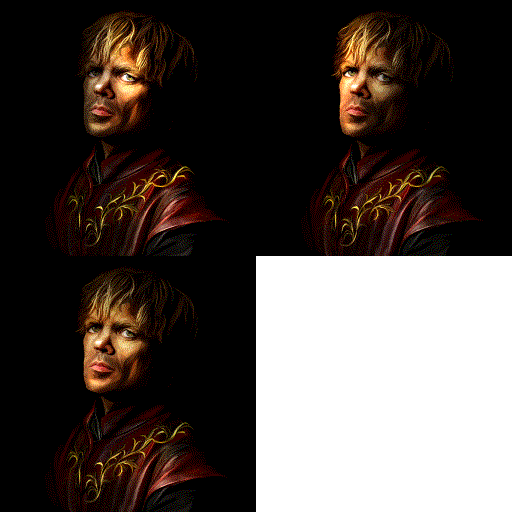 |
* Example 027 * Not need a mask * Input image "027.jpg" To try it: --- >> python example027.py --- Image has copyrights. |
|---|
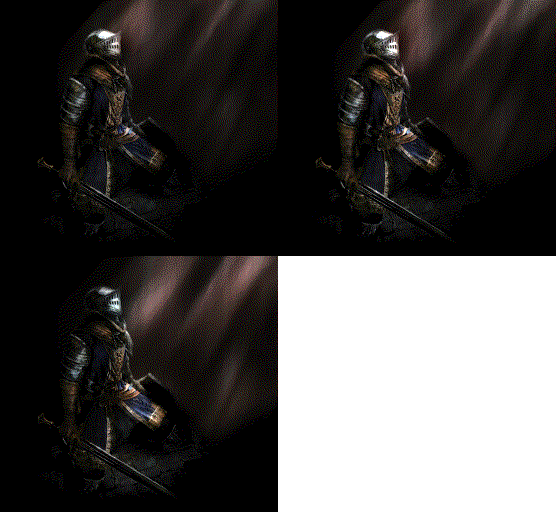 |
* Example 028 * Not need a mask * Input image "028.jpg" To try it: --- >> python example028.py --- Image has copyrights. |
|---|
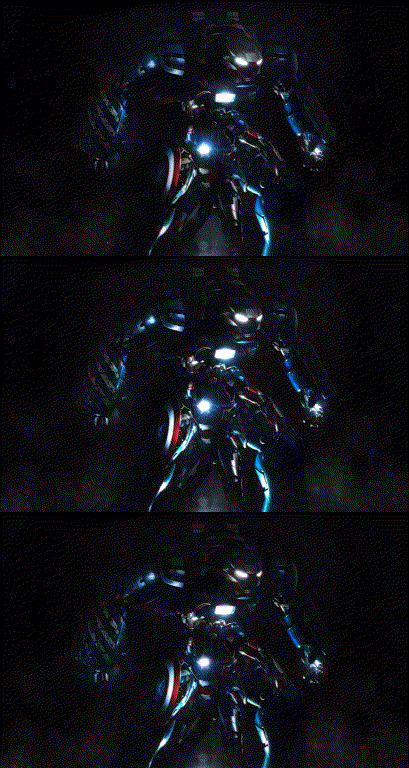 |
* Example 029 * Not need a mask * Input image "029.jpg" To try it: --- >> python example029.py --- Image has copyrights. |
|---|
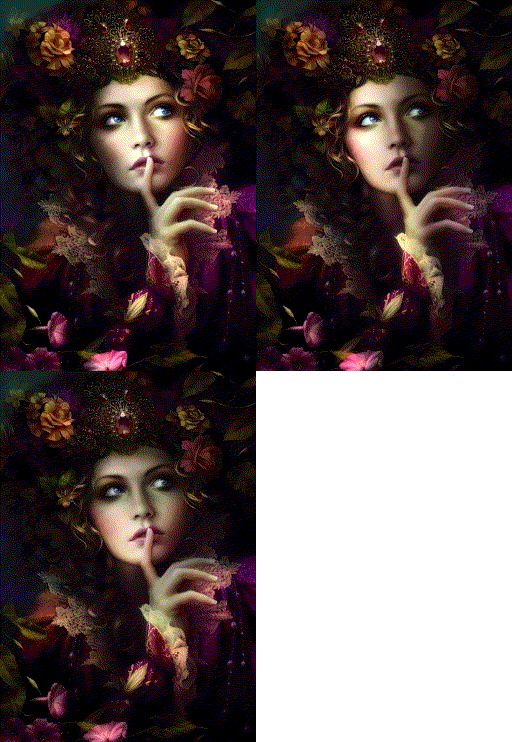 |
* Example 030 * Not need a mask * Input image "030.jpg" To try it: --- >> python example030.py --- Image has copyrights. |
|---|
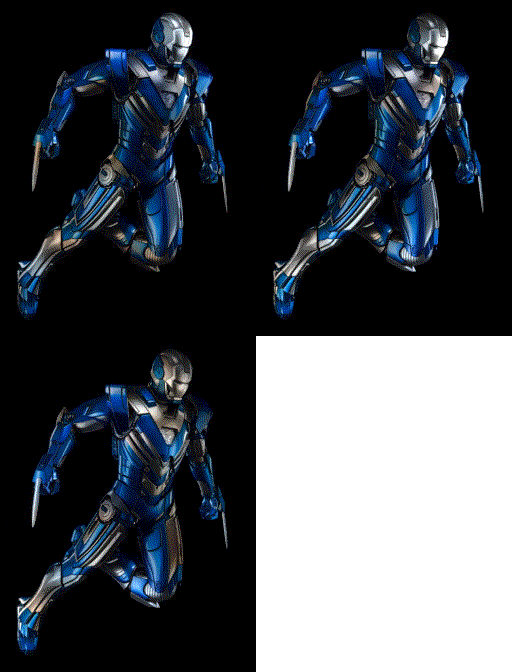 |
* Example 031 * Not need a mask * Input image "031.jpg" To try it: --- >> python example031.py --- Image has copyrights. |
|---|
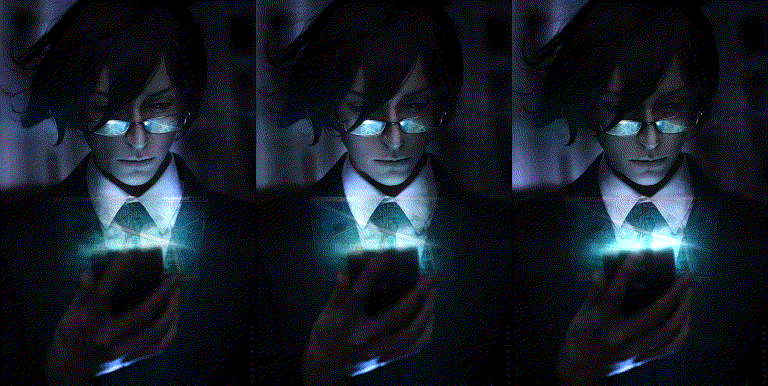 |
* Example 032 * Not need a mask * Input image "032.jpg" To try it: --- >> python example032.py --- Image has copyrights. |
|---|
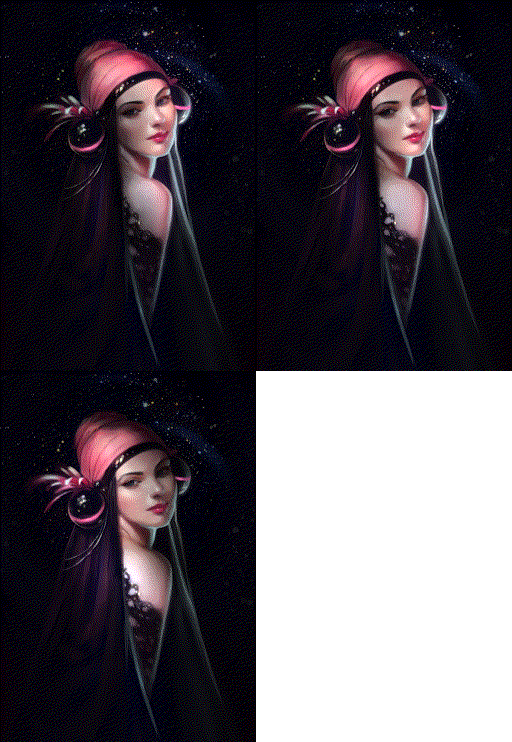 |
* Example 033 * Not need a mask * Input image "033.jpg" To try it: --- >> python example033.py --- Image has copyrights. |
|---|
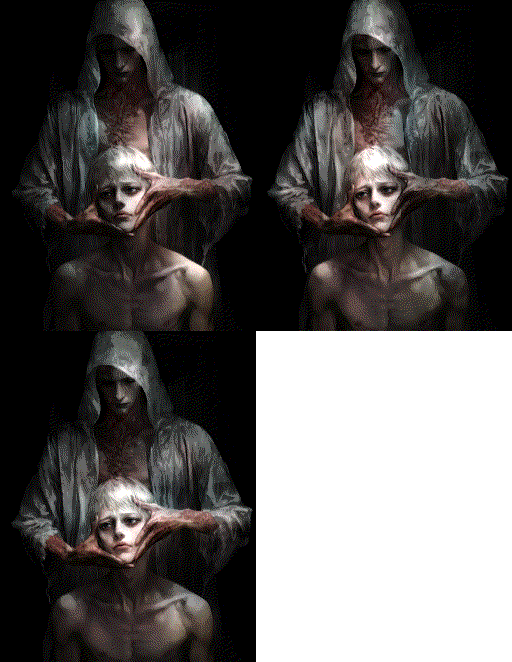 |
* Example 034 * Not need a mask * Input image "034.jpg" To try it: --- >> python example034.py --- Image has copyrights. |
|---|
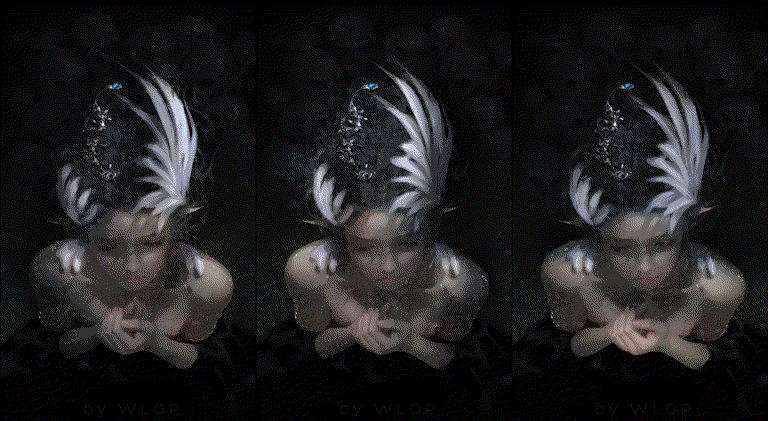 |
* Example 035 * Not need a mask * Input image "035.jpg" To try it: --- >> python example035.py --- Image has copyrights. |
|---|
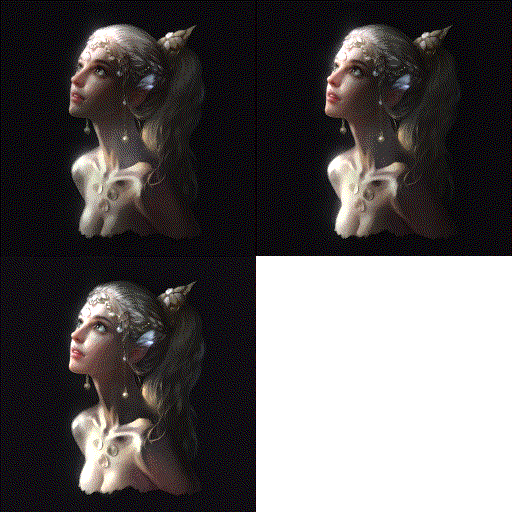 |
* Example 036 * Not need a mask * Input image "036.jpg" To try it: --- >> python example036.py --- Image has copyrights. |
|---|
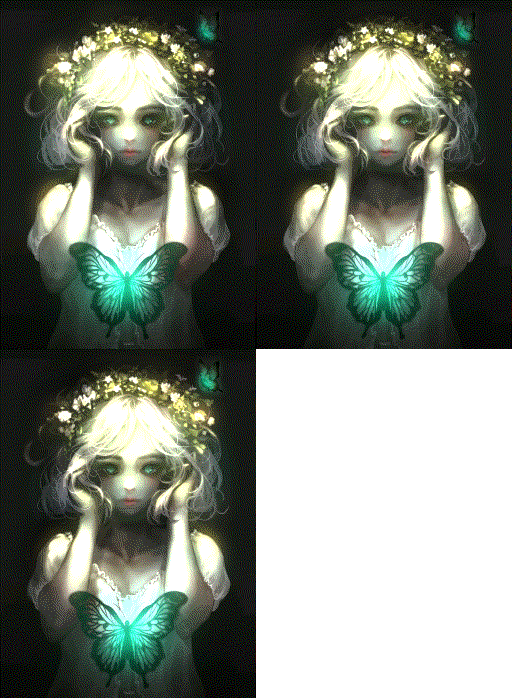 |
* Example 037 * Not need a mask * Input image "037.jpg" To try it: --- >> python example037.py --- Image has copyrights. |
|---|
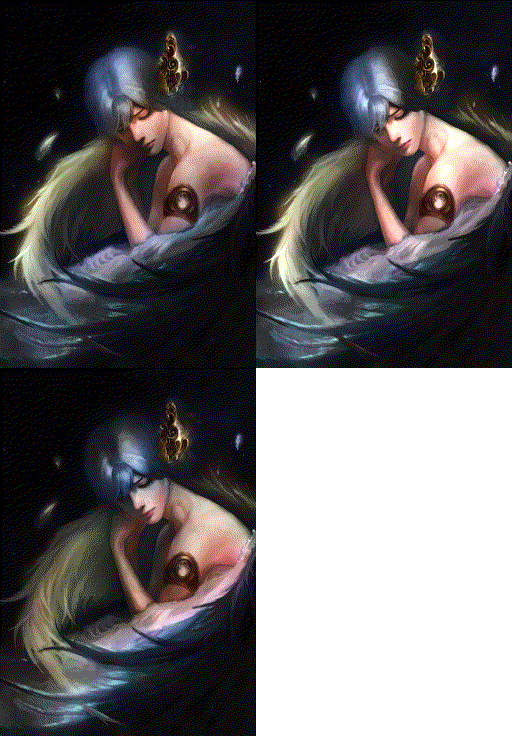 |
* Example 038 * Not need a mask * Input image "038.jpg" To try it: --- >> python example038.py --- Image has copyrights. |
|---|
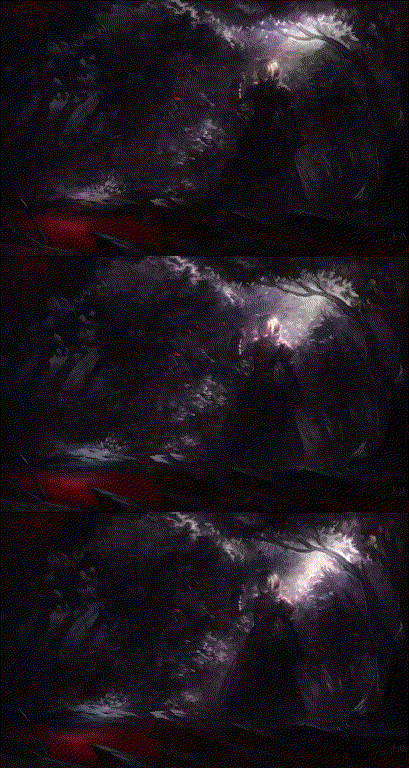 |
* Example 039 * Not need a mask * Input image "039.jpg" To try it: --- >> python example039.py --- Image has copyrights. |
|---|
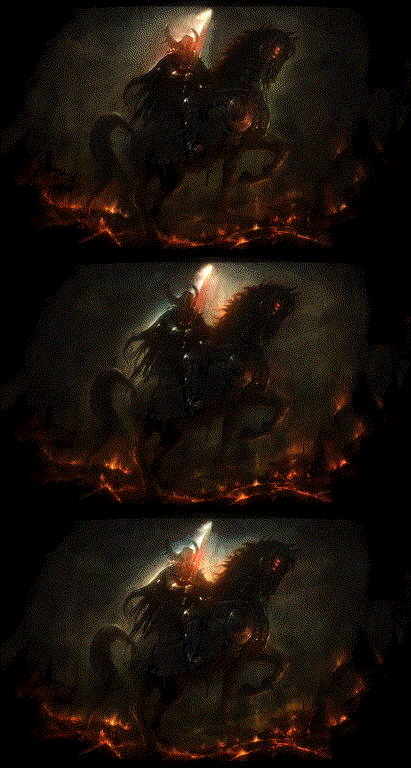 |
* Example 040 * Not need a mask * Input image "040.jpg" To try it: --- >> python example040.py --- Image has copyrights. |
|---|
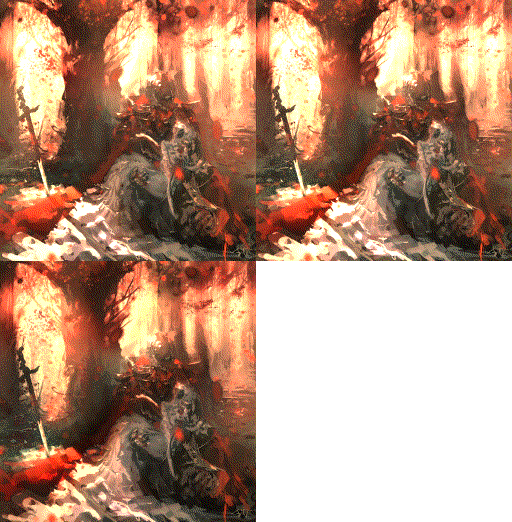 |
* Example 041 * Not need a mask * Input image "041.jpg" To try it: --- >> python example041.py --- Image has copyrights. |
|---|
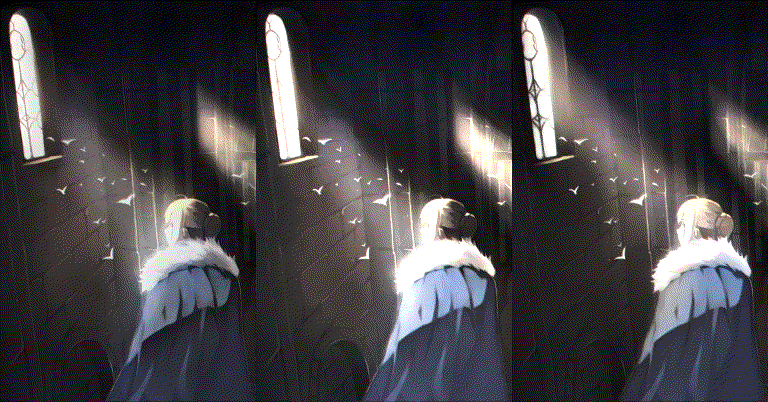 |
* Example 042 * Not need a mask * Input image "042.jpg" To try it: --- >> python example042.py --- Image has copyrights. |
|---|
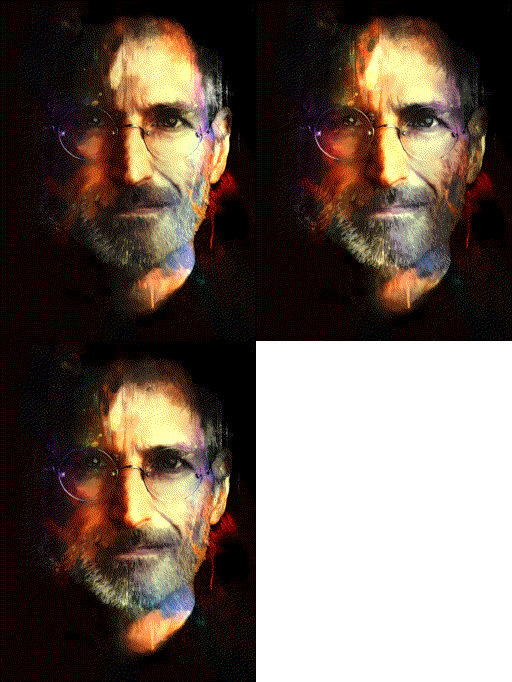 |
* Example 043 * Not need a mask * Input image "043.jpg" To try it: --- >> python example043.py --- Image has copyrights. |
|---|
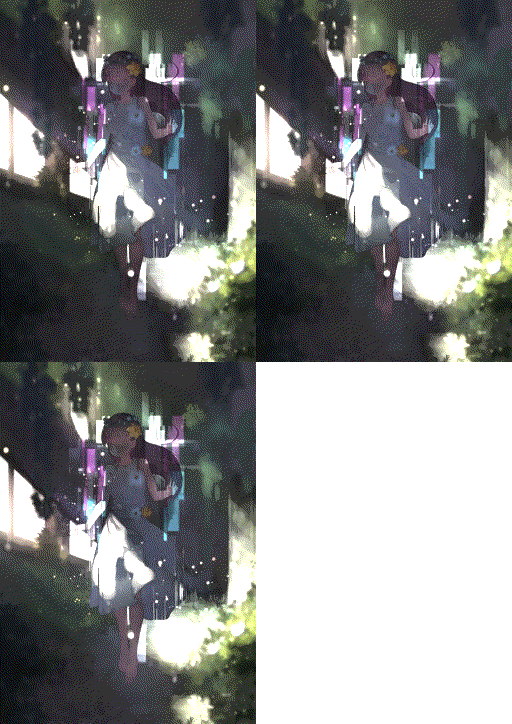 |
* Example 044 * Not need a mask * Input image "044.jpg" To try it: --- >> python example044.py --- Image has copyrights. |
|---|
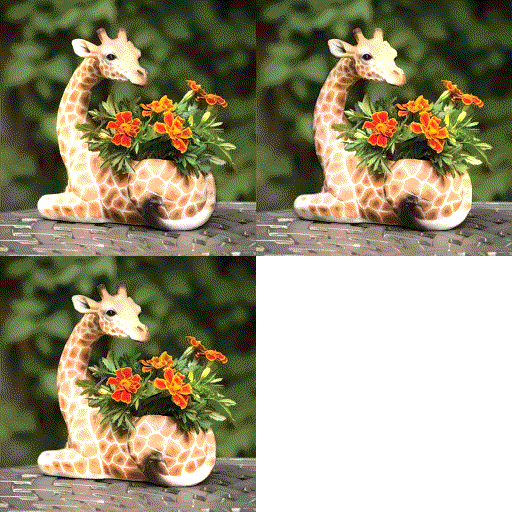 |
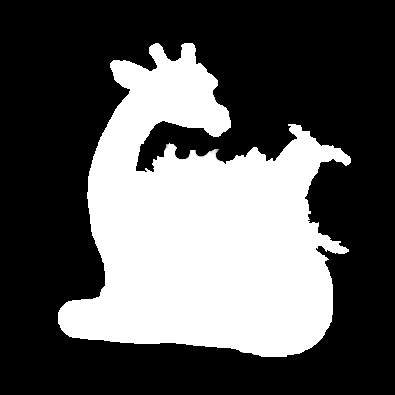 |
* Example 045 * Need a mask * Input image "045.jpg" To try it: --- >> python example045.py --- Image has copyrights. |
|---|
Just try:
python default.py your_image.png
It is also possible to edit parameters in default.py. See codes for detals.
Note that big images may cause a out-of-memory error. See Here. Please resize your images to about 512px before processing.
Q: It is mentioned that this project does not using
   deep learning, then why it is still required to install tensorflow?

A: This is because we use SRCNN, a tensorflow neural network, to
   pre-process input images in order to remove JPEG artifacts. Therefore
   you still need to install tensorflow with a proper version.
Q: I am trying with my own images. Can you explain
   the parameters so that I can get better results?

A: Here we list all possible parameters:

image:                               the input image.

mask:                                a paired mask. you can set it to None as it is optional.

ambient_intensity:                   the environment ambient light intensity. 0.45 recommended.

light_intensity:                     the intensity of your light. 0.85 recommended.

light_source_height:                 the height of your light source. It is the distance
                                     from the image to your light source. 1.0 recommended.

gamma_correction:                    the gamma correction parameter. It is a common parameter in
                                     many digital cameras or smartphone cameras, and we provide
                                     it if necessary. 1.0 recommended.

stroke_density_clipping:             a scalar to clip the stroke density. Bigger number results
                                     in sharper results. 1.2 recommended.

enabling_multiple_channel_effects:   whether to generate multiple-channel lighting
                                     effects. True recommended.

light_color_red:                     color of your light. 1.0 recommended.

light_color_green:                   color of your light. 1.0 recommended.

light_color_blue:                    color of your light. 1.0 recommended.
Q: I am currently trying with flat cell illustrations or line drawings, but
   the results are bad. Is this method not suitable to line drawings and flat
   cell illustrations?

A: This method not suitable to line drawings and flat cell illustrations. This
   is because the main technique of this algorithm is called stroke density.
   The algorithm fails if the input image do not contain such strokes or
   similar patterns.
Q: I have tried many parameters but I am still not very satisfied.
    What can I do to realize the full potential of this algorithm?

A: If you really need you may manually annotate a mask and use the masked mode.
   You may see also the code for the “Playing with Examples with Masks” examples.
@Article{ZhangTOG2020,
   author    = {Lvmin Zhang and Edgar Simo-Serra and Yi Ji and Chunping Liu},
   title     = {{Generating Digital Painting Lighting Effects via RGB-space Geometry}},
   journal   = "Transactions on Graphics (Presented at SIGGRAPH)",
   year      = 2020,
   volume    = 39,
   number    = 2,
}
我们有一个除了技术什么东西都聊的以技术交流为主的群。如果你一次加群失败,可以多次尝试: 816096787。