An Environmental Sound Classifier
(Current works on desktop Firefox and mobile Safari on iOS!)
I wrote a bit about Whisp, the ESC-50 dataset, training an environmental sound classifier, and some insights I had along the way while testing it in the field on my blog A Quite Life.
This project comprises of three main parts:
-
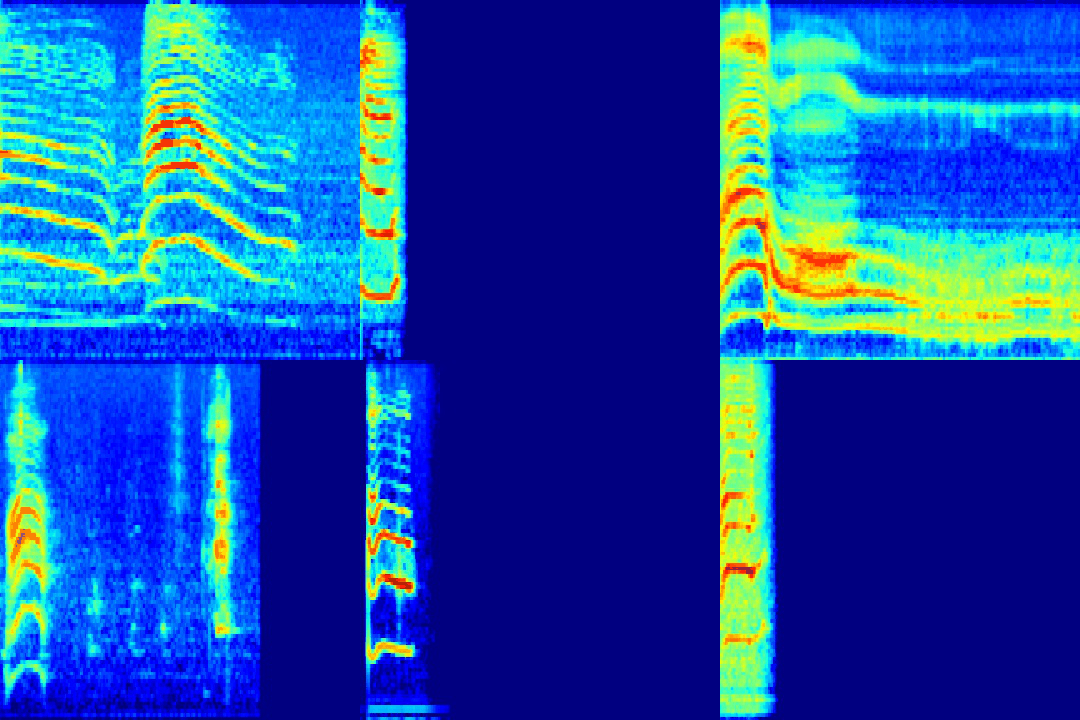
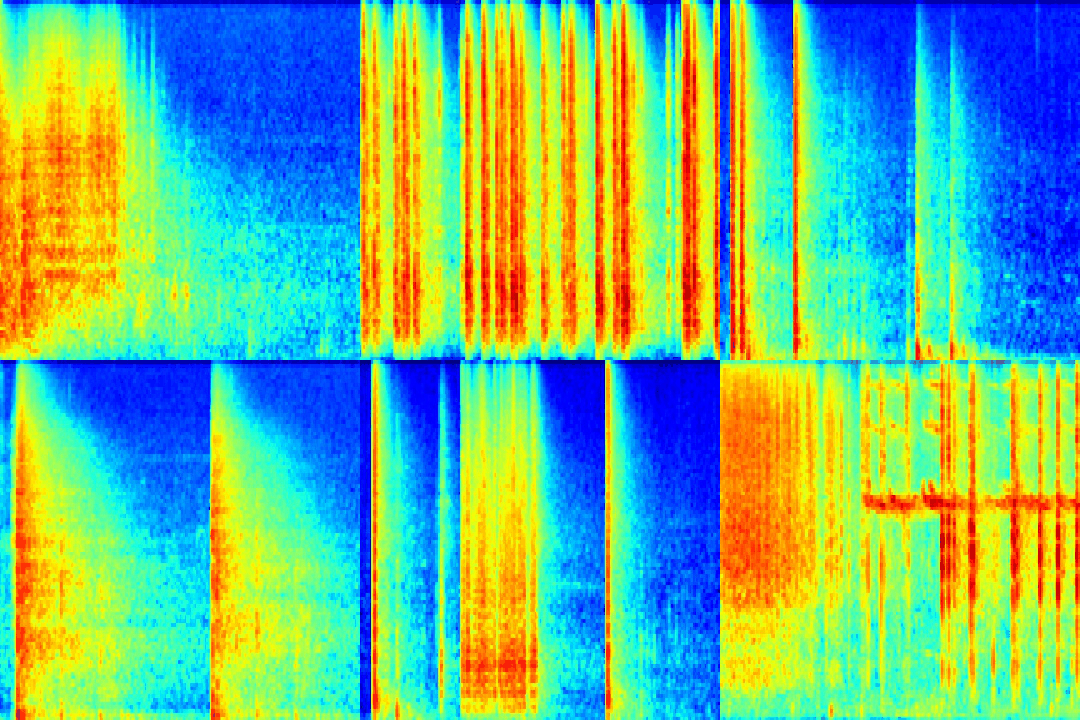
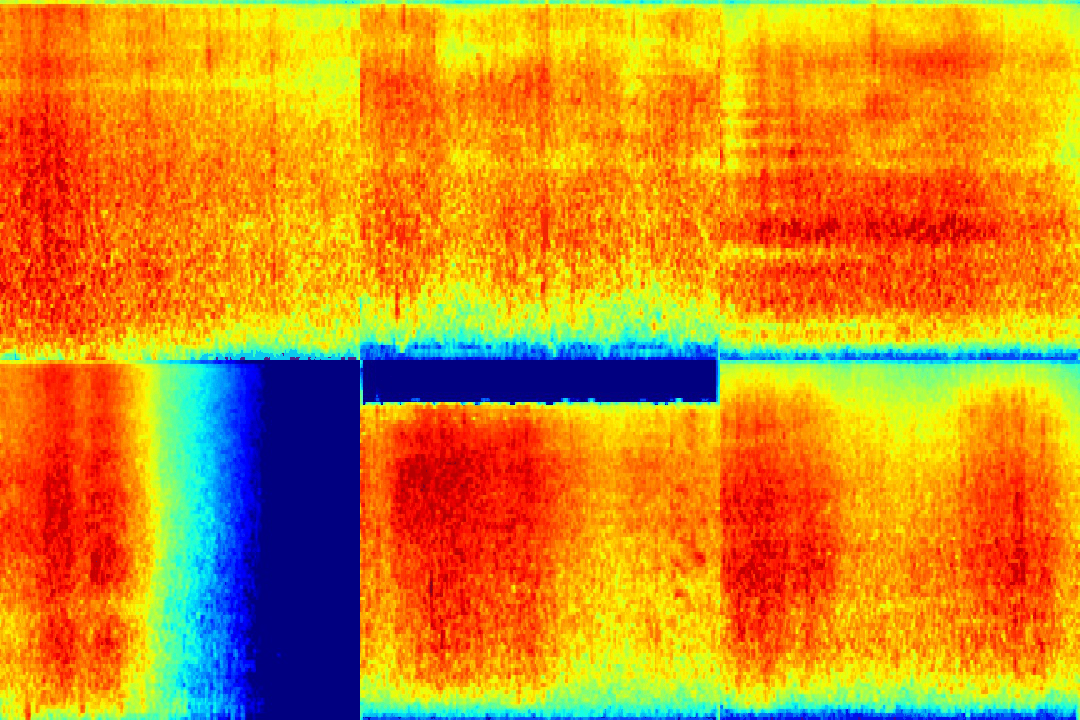
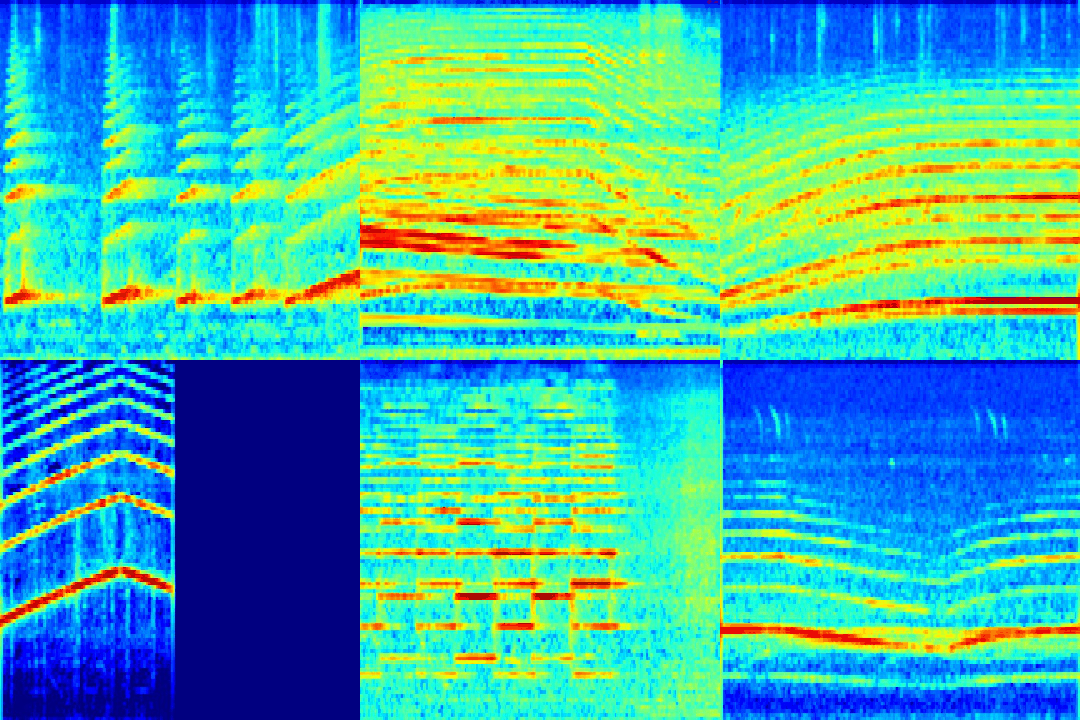
Spectrogram generation notebook, which shows you how to make spectrograms from the ESC-50 dataset. It also shows you how to make gifs as well, for fun ;)
-
Learner notebook, which shows how to build our classification model with fastai
-
Web app, which allows you to predict sound classfication with our model!
Its probably a good idea to fork this repo as you may end up working on different machines
Install conda:
brew install conda
Create a new conda environment:
conda create -n whisp python=3.6
Activate your environment:
conda activate whisp
Clone repo, move into the whisp directory and install required libraries:
git clone https://github.com/aquietlife/whisp
cd whisp
pip install -r requirements.txt
Finally, make sure to get the ESC-50 dataset:
curl -LO https://github.com/karoldvl/ESC-50/archive/master.zip
unzip master.zip
Then you should be good to go!
Start up Jupyter to play in the notebooks:
jupyter notebook
All of our pretraining data munging can be found here:
Spectrogram Generator notebook
Walk through the notebook, which guides you through creating all the spectrogram data needed for the learner notebook, as well as some bonus code for generating gifs like the ones above.
Whisp is trained on the ESC-50 dataset
The paper on this dataset is short and fun to read :)
You can train our environmental sound classifier with this notebook:
Before running this notebook, please make sure you have generated the spectrograms from the Spectrogram Generator notebook.
You will also need to be running this notebook on a GPU machine. I've been using Paperspace. More instructions on setting up your Paperspace machine can be found here.
Ssh into your paperspace machine, clone this repo, and then go through the Spectrogram Generator notebook above to generate your spectrograms for learning.
ssh paperspace@xxx.xxx.xxx.xxx
Follow the Installation instructions above, but when you get to starting Jupyter notebook, use this command instead:
jupyter notebook --no-browser --port=8889 --NotebookApp.allow_remote_access=True
Open up another tab and ssh into your machine again, like so:
ssh -N -L localhost:8888:localhost:8889 paperspace@xxx.xxx.xxx.xxx
It appears to hang after enter on password, but its all good.
Back in the first tab, copy and paste the Jupyter notebook url, but change 8889 to 8888 like so:
http://localhost:8888/?token=UNIQUE_TOKEN
From there you should be able to run all the notebooks, so start with the Spectrogram Generator notebook to create your spectrograms for training :)
After creating your spectrograms, you can run through the learner notebook.
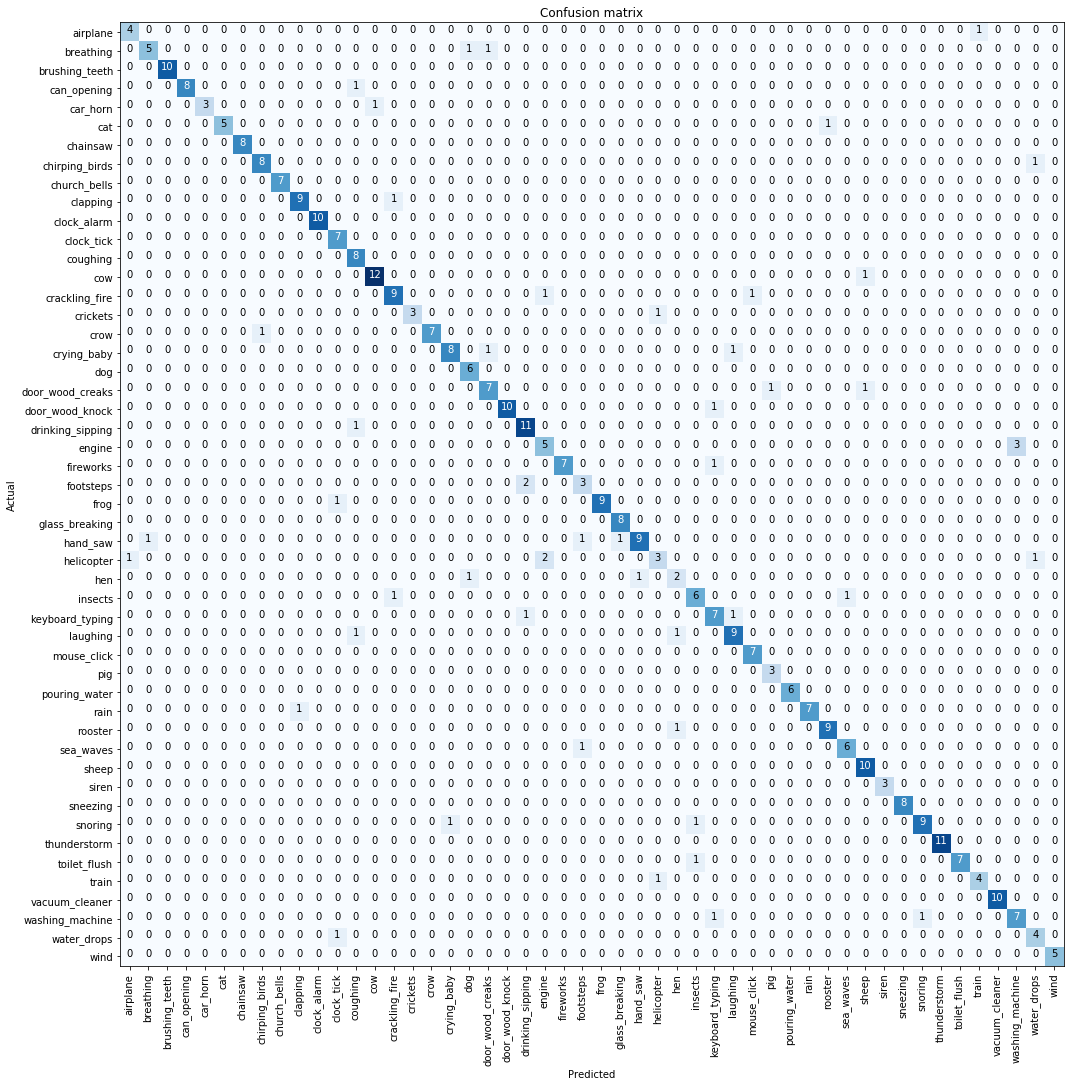
At the end of our second set of training, we get the following results:
| epoch | train_loss | valid_loss | error_rate |
|---|---|---|---|
| 1 | 1.063904 | 1.055990 | 0.325000 |
| 2 | 1.036396 | 2.332567 | 0.562500 |
| 3 | 1.049258 | 1.470638 | 0.387500 |
| 4 | 1.032500 | 1.107848 | 0.337500 |
| 5 | 0.924266 | 1.392631 | 0.417500 |
| 6 | 0.768478 | 0.623403 | 0.212500 |
| 7 | 0.596911 | 0.535597 | 0.165000 |
| 8 | 0.446205 | 0.462682 | 0.160000 |
| 9 | 0.325181 | 0.419656 | 0.135000 |
| 10 | 0.251277 | 0.402070 | 0.127500 |
0.122500 or 87.25% accuracy!
At the end of the notebook, we export our model export.pkl in the app/model directory to be used in our web app ^_^
If you have errors running the app with errors about 'installing Python as a framework', try runnning conda install matplotlib
To run the web server, run:
python app/server.py serve
The app is served at http://0.0.0.0:8008
You can test uploading files from the field_recordings directory, which has three 5-second recordings that I made.
The repo is set up to deploy easily to any number of web hosting services that support Docker.
I ended up going with Render, but you can use whatever works for you :)
You can create movies from the spectrograms with the following command:
ffmpeg -i animated.gif -movflags faststart -pix_fmt yuv420p -vf "scale=trunc(iw/2)*2:trunc(ih/2)*2" video.mp4
from here:
