This is a unique web interface for controlling my IoT gift for 2016. Christmas. Yes, in 2016 I decide to make my own present for my family, it has been so hard, at last I didnt finish every thing,of 4 original ideas, I have been able to build Just two :(
This is the list of original project with links:
- Laser-Gun - A Laser Gun pointer for let play you cats automatically, .
- HowButton - A Project to satisfy a parent's needs, to ask you , every time, every where HOW ARE YOU? So I made a big green button, to let them ask me by Email and receive a response as quickly as I can.
- EmotiveRobot - A project to let you people comunicate, without texting , or using word, it's just to give an emotion to the other one, and let him/her know how you feel;
- PixarLamp - This is just BIG pixar lamp, that can turn on/off remotely, with your phone.
To use this application you will need :
- Firebase application;
- Heroku app;
- Mosquito server (as Add-on of Heroku app);
So First Create Firebase App and you will need the API key and private Key to connect FE and BE.
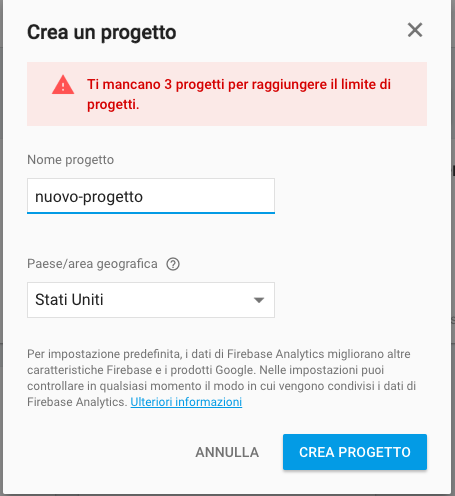
- Create project
- Click on "Add Firebase to web Application"
- Copy the config Object in the modals and past it into the view/partials/header.ejs ( instead of the config object already present);
So Now you have front-end connected correctly to Firebase database, now :
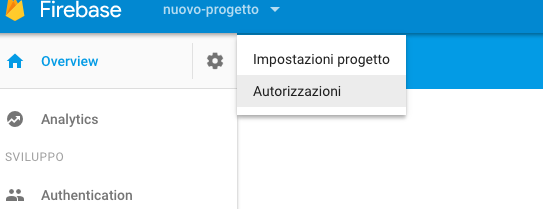
- Go on Gear icon ( top-left of screen) > Authorization
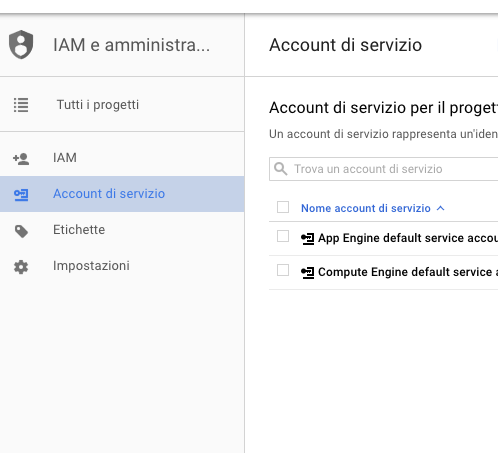
- Click on left menu Service account
- And then on Create new Service Account

- Fill the form with your prefered name, and desidered role and check the tick for provide a New private key( as JSON )
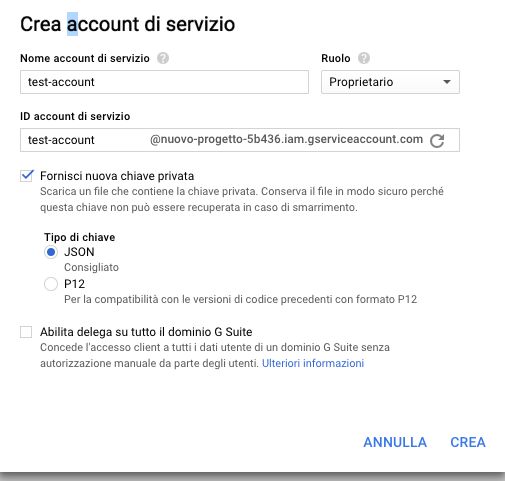
- After it has been generated, it start the download, so now copy the json private key e paste it in the directory app/config;
- Copy the full name of json private key, and edit the file index.js changing nalate-2016-ddb92796558b.json in this row :
try {// if dont found, it means we are deployed, so we will look for it in to HEROKU environment
  serviceAccount = require("./app/config/nalate-2016-ddb92796558b.json");
}catch(e){
  serviceAccount = JSON.parse(process.env['nalate-2016-ddb92796558b.json']);
}
mqttService.init(); // start connection to
var config = {
  credential: admin.credential.cert(serviceAccount),
  databaseURL: "https://natale-2016.firebaseio.com/"

};
- Change also the databaseURL with your firebase databaseUrl;
Now your application is perfectly configurated, if you want to test it out, go on section Running Locally, to run the application without deploying and check out if everythink works well.
After you have your firebase you can proceed creating Heroku app, so go in your Heroku console and
create a new app
and choose ( or not ) the name you prefer.
Then following the Heroku instruction from root project path:
Download and install the Heroku CLI
If you haven't already, log in to your Heroku account and follow the prompts to create a new SSH public key.
$ heroku login
Initialize a git repository in a new or existing directory
 $ cd my-project/
 $ git init
 $ heroku git:remote -a heroku-app-name
Commit your code to the repository and deploy it to Heroku using Git.
 $ git add .
 $ git commit -am "make it better"
 $ git push heroku master
For existing repositories, simply add the heroku remote
$ heroku git:remote -a heroku-app-name
Make sure you have Node.js and the Heroku Toolbelt installed.
$ git clone https://github.com/enricoaleandri/Natale2016-IoT-web # or clone your own fork
$ cd Natale2016-IoT-web
$ npm install
$ bower install
$ npm start
Your app should now be running on localhost:5000.
$ heroku create
$ git push heroku master
$ heroku open
or
In the /public directory you have exposed web pages ( based on Angular ) in modular patten, in the /views directory there are the Node pages
