Table of Contents
Page Analyzer is a full-featured application based on the Flask framework that analyzes specified pages for SEO suitability.
Here the basic principles of building modern websites on the MVC architecture are used: working with routing, query handlers and templating, interaction with the database.
In this project the Bootstrap 5 framework along with Jinja2 template engine are used. The frontend is rendered on the backend. This means that the page is built by the Jinja2 backend, which returns prepared HTML. And this HTML is rendered by the server.
PostgreSQL is used as the object-relational database system with Psycopg library to work with PostgreSQL directly from Python.
- Validate, normalize and add new URL to the database;
- Check the site for its availability;
- Query the desired site, collect information about it and add it to the database;
- Display all added URLs;
- Display the specific entered URL on a separate page with obtained information;
- Python
- Flask
- Bootstrap 5
- PostgreSQL
- Beautiful Soup 4
- Jinja 2
- Psycopg 2
- Gunicorn
- Poetry
- pytest
- Flake8
Before installing the package make sure you have Python version 3.8 or higher installed:
>> python --version
Python 3.8+The project uses the Poetry dependency manager. To install Poetry use its official instruction.
As database the PostgreSQL database system is being used. You need to install it first. You can download the ready-to-use package from official website or use Homebrew:
>> brew install postgresqlTo use the application, you need to clone the repository to your computer. This is done using the git clone command. Clone the project:
>> git clone https://github.com/ivnvxd/python-project-83.git && cd python-project-83Then you have to install all necessary dependencies:
>> make installCreate .env file in the root folder and add following variables:
DATABASE_URL = postgresql://{provider}://{user}:{password}@{host}:{port}/{db}
SECRET_KEY = '{your secret key}'
Run commands from database.sql to create the required tables.
Start the gunicorn Flask server by running:
make startBy default, the server will be available at http://0.0.0.0:8000.
It is also possible to start it local in development mode with debugger active using:
make devThe dev server will be at http://127.0.0.1:5000.
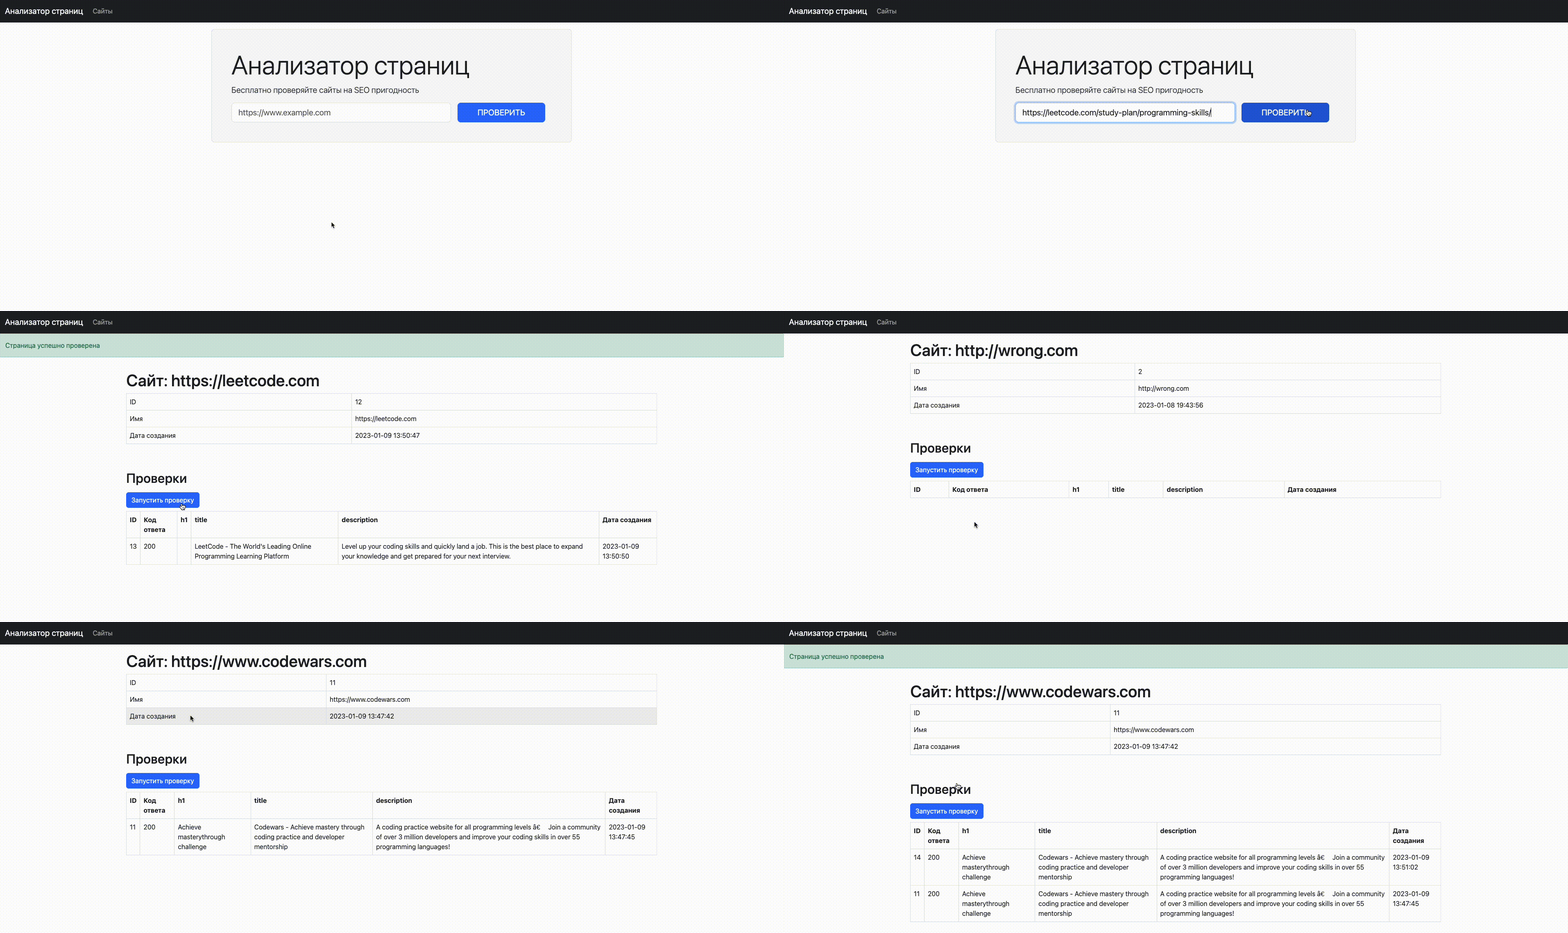
To add a new site, enter its address into the form on the home page. The specified address will be validated and then added to the database.
After the site is added, you can start checking it. A button appears on the page of a particular site, and clicking on it creates an entry in the validation table.
You can see all added URLs on the /urls page.
The demo version is available on Railway platform: https://python-page-analyzer.up.railway.app/
- python = "^3.8.1"
- Flask = "^2.2.2"
- gunicorn = "^20.1.0"
- python-dotenv = "^0.21.0"
- psycopg2-binary = "^2.9.5"
- validators = "^0.20.0"
- requests = "^2.28.1"
- beautifulsoup4 = "^4.11.1"
- flake8 = "^6.0.0"
- pytest = "^7.2.0"
- pytest-cov = "^4.0.0"
make dev- Run Flask server in development mode with debugger active.
make start- Starts the web server at http://localhost:8000 if no port is specified in the environment variables.
make install- Install all dependencies of the package.
make lint- Check code with flake8 linter.
make test- Run tests.
make check- Validate structure of
pyproject.tomlfile, check code with tests and linter.
Project Tree
.
├── Makefile
├── README.md
├── database.sql
├── page_analyzer
│   ├── __init__.py
│   ├── app.py
│   ├── checks.py
│   ├── db.py
│   └── templates
│       ├── 404.html
│       ├── index.html
│       ├── layout.html
│       ├── show.html
│       └── urls.html
├── poetry.lock
├── pyproject.toml
├── setup.cfg
└── tests
    ├── __init__.py
    ├── test_app.py
└── test_checks.py![]() This is the third training project of the "Python Developer" course on Hexlet.io
This is the third training project of the "Python Developer" course on Hexlet.io
GitHub @ivnvxd · LinkedIn @Andrey Ivanov

