The project is moved to the Dealogic organization: https://github.com/Dealogic/webpack-vsts-extension
There is no official webpack task for the Visual Studio Team System builds, so this project is trying to fill this gap. Clone this git repository and upload the task to your Team System project with tfx-cli tool.
You can read more about creation of custom tasks here.
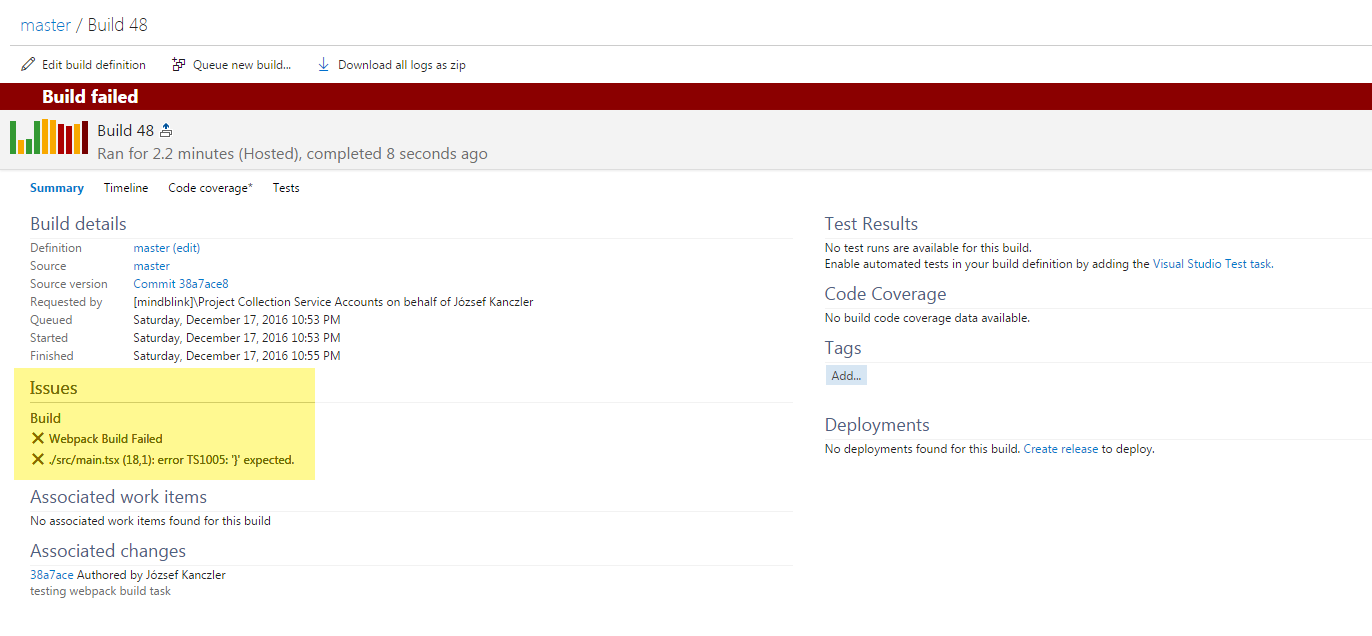
- Reports webpack build warnings and errors under the Issues / Build section on the Summary page.
- The warnings are handled as partially succeeded builds.
- The errors are handled as failed builds.
- Provide an option to handle warnings as errors.
- Webpack custom section on the Summary page to show more information even for successful builds.
- Integration with Travis CI
1. Install tfx-cli
First of all you have to install the tfx-cli command line tool by Microsoft from npm:
npm i tfx-cli -g
You have to create or use your personal access token to provide access to tfx-cli for your Visual Studio online account. You can find a guide here how to do this.
3. Login with tfx-cli
If you have your personal access token, you can use the following command to login:
tfx login
You have to provide your service URL (must ends with DefaultCollection, for example https://my-account.visualstudio.com/DefaultCollection) and the token.
Clone webpack-vsts repository to your local machine and navigate into the cloned folder.
git clone https://github.com/jkanczler/webpack-vsts.git
cd webpack-vsts
There is an npm script already to upload the task.
npm run upload
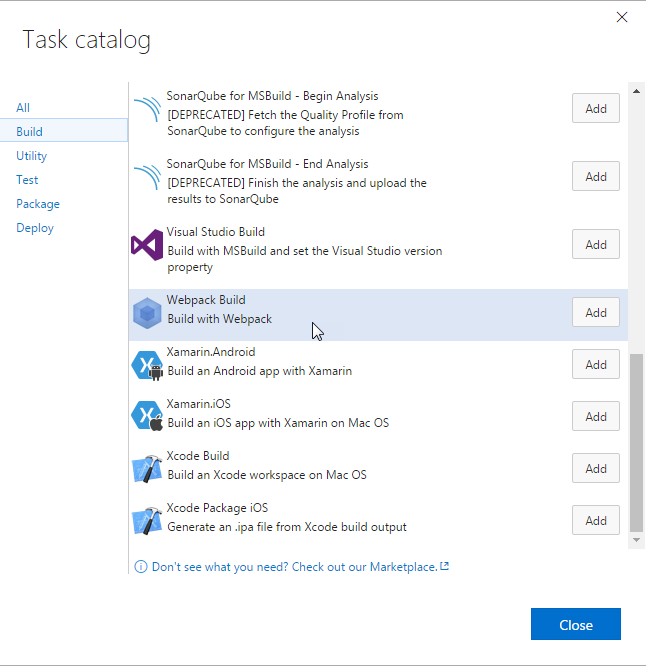
Now you can add the webpack task to your VSTS build as a new build step.
| Setting | Description |
|---|---|
| working folder | The path of the working folder where webpack build will run (locally installed webpack required). Optional, if the path is not provided, then the root folder will be used. |
| arguments | As the task is using the webpack-cli you can provide your arguments. For example you can pass --config my.webpack.config.js if you have custom configuration file. |

