-
Notifications
You must be signed in to change notification settings - Fork 4
protTrace VirtualMachine
If you don't want to bother installing protTrace with its dependencies on your local machine, you can make use of the protTrace Virtual Machine. The only thing that you will need to do is to install the virtual machine software and you are ready to go.
- Open the Virtual Box Home page
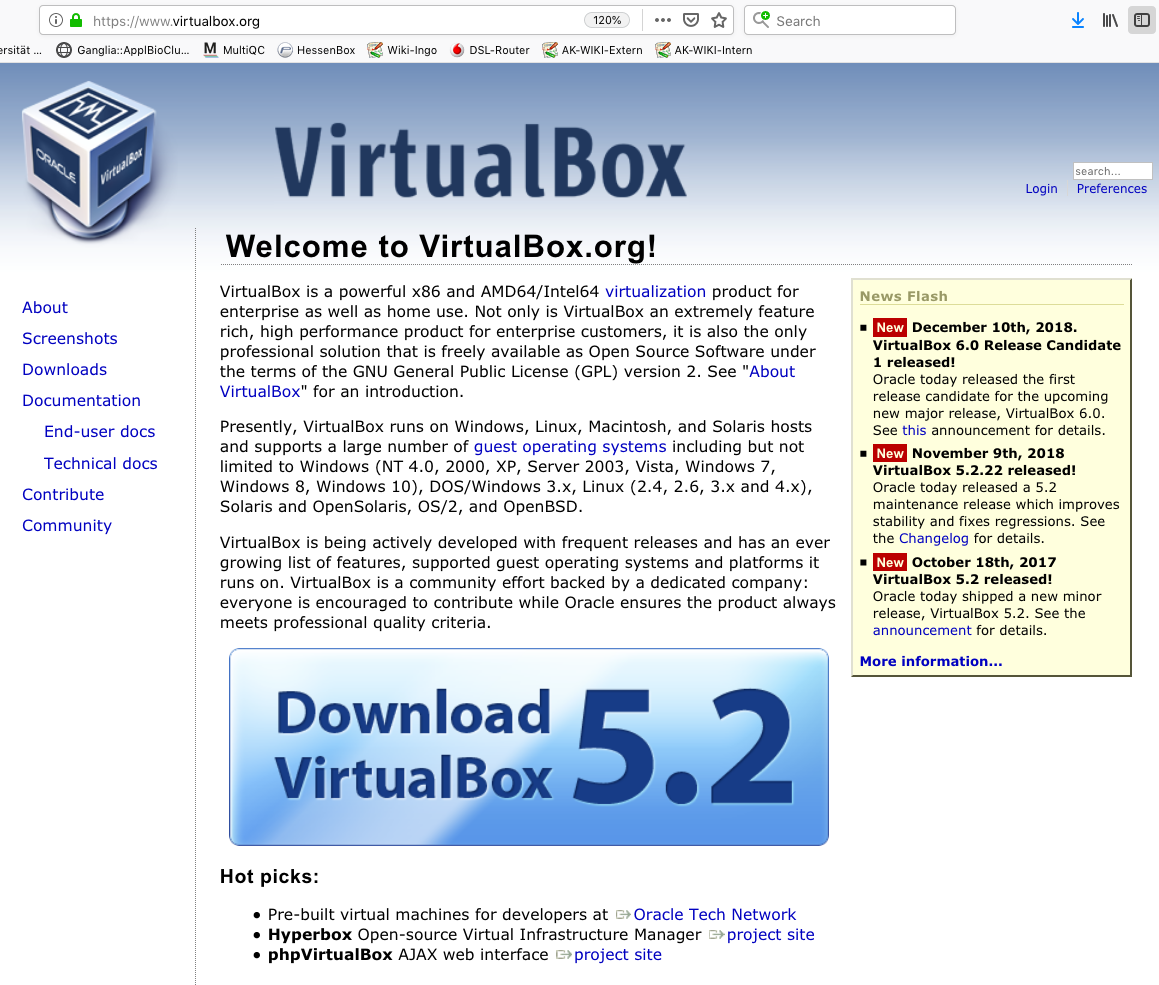 Figure 1 - Homepage of the Virtual Box project
- Move to the Download page and download the virtual box that fits your operation system
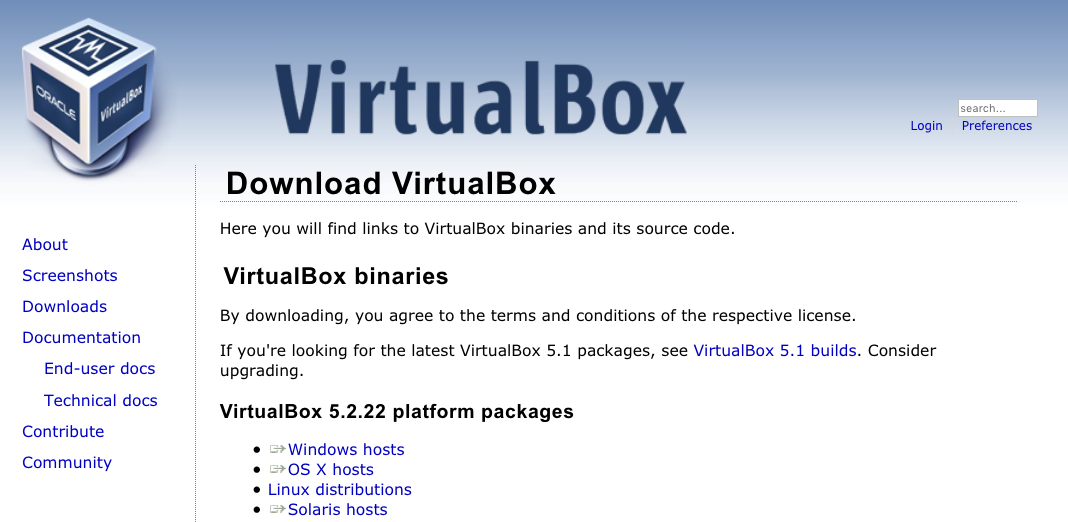 Figure 2 - Download area of the Virtual Box project
- Follow the installation guide lines to have the Virtual Box software installed on your system. Once this has been accomplished, start the software. You will be presented with something that looks like the following welcome screen
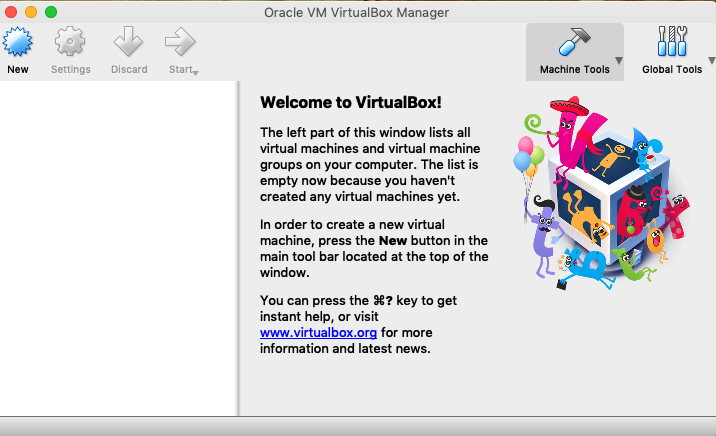 Figure 3 - Start screen of the Virtual Box software on Mac OSX
Currently, we offer the protTrace VM in two flavors:
-
protTrace
- This VM is ready to go. It has all dependencies installed, and comes equipped with the OMA ortholog groups, the corresponding protein sequences, and a local version of the PFAM database (v32.0). Note, the total download size of the VM files is 14 GB.
- Click HERE to start the download. Alternatively, you can use wget:
wget https://applbio.biologie.uni-frankfurt.de/download/protTrace-VM/protTrace.tar.gz - Once the download has completed, unpack and decompress the tar archive, e.g. by typing
tar -xzf protTrace.tar.gz
-
protTraceLean
- This VM contains protTrace together with all dependencies. You will only need to download the OMA ortholog groups, the corresponding protein sequences, and the PFAM database. The download size of the VM files is about 6 GB.
- Click HERE to start the download. Alternatively, you can use wget:
wget https://applbio.biologie.uni-frankfurt.de/download/protTrace-VM/protTraceLean.tar.gz - Once the download has completed, unpack and decompress the tar archive, e.g. by typing
tar -xzf protTraceLean.tar.gz
You now have the option to simply add the VM to your system. By doing so, you will not be able to configure the VM yourself.
- Choose the option Add... from the Machine... menu
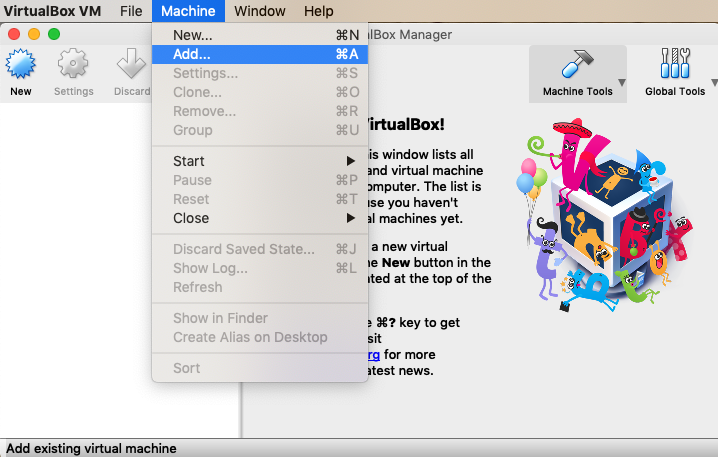 Figure 4 - Adding the VM to your system
- Select either the protTrace.vbox or the protTraceLean.vbox file from the VM directory you have downloaded
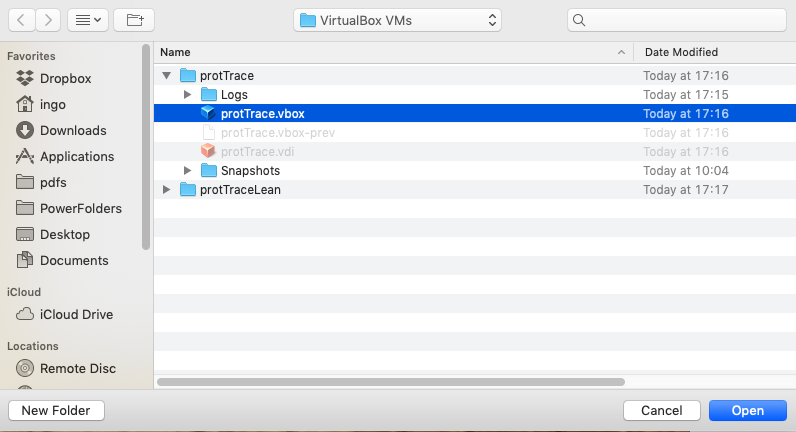 Figure 5 - Adding the VM to your system
Alternatively, you can set up a new Virtual Machine and use only the virtual disk distributed by us. By doing so, you have full control over the VM you build.
- Give the VM a name. We suggest protTrace, select linux as the operating system and hit Continue
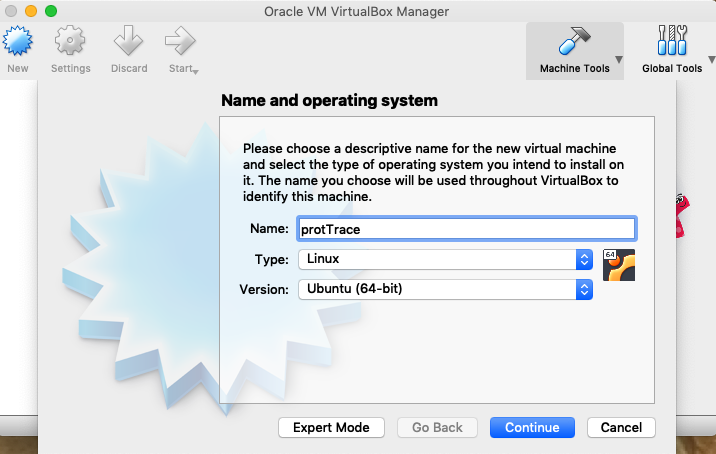 Figure 6 - Initial configuration of the VM: Name of the VM and operating system
- Set the RAM for your VM. In the example we give 2 GB of RAM to our instance
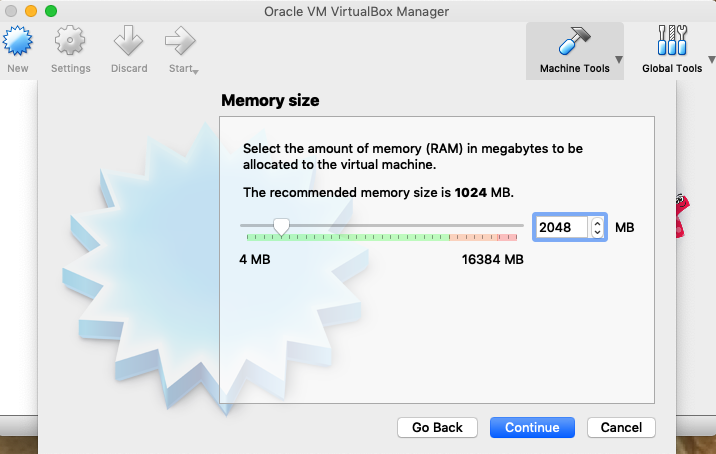 Figure 7 - Initial configuration of the VM: RAM
- Specify the virtual hard disk for your VM. Use here the file, which you have downloaded from the web site, either protTraceLean.vdi or protTrace.vdi.
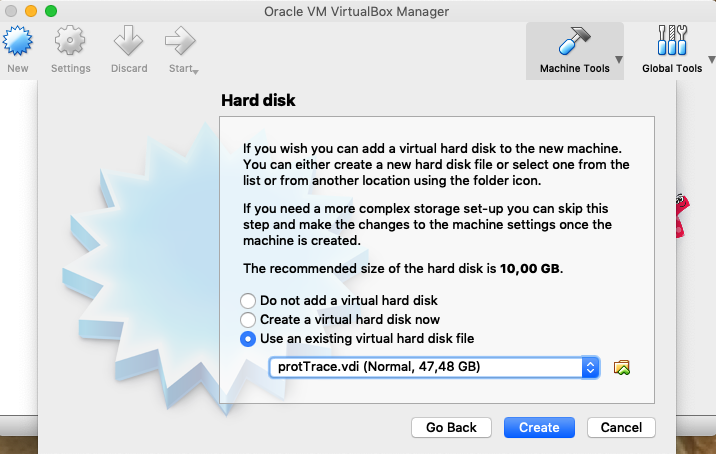 Figure 7 - Initial configuration of the VM: Virtual Hard Disk
Once you have completed either of the two steps outlined above, you are now ready to start your VM
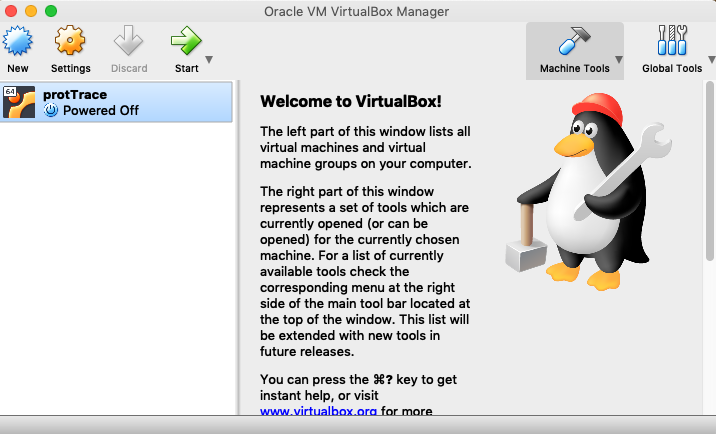 Figure 8 - Initial configuration of the VM is now complete. Upon hitting the start button, you can start your machine.
- User name: prottrace
- User password: prottrace
- root password: prottrace
- Upon startup of Linux in the VM, you will be automatically logged in as the user prottrace.
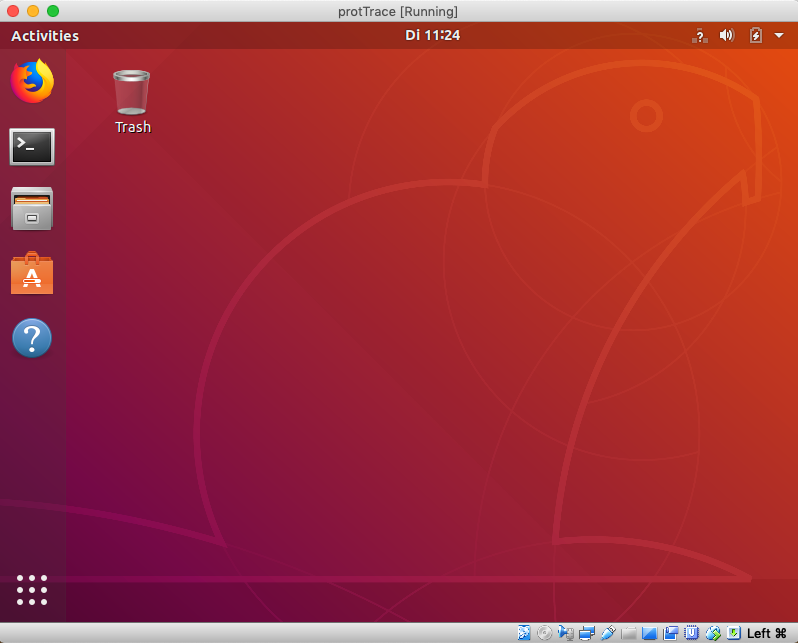 Figure 9 - The VM in action
- The command line
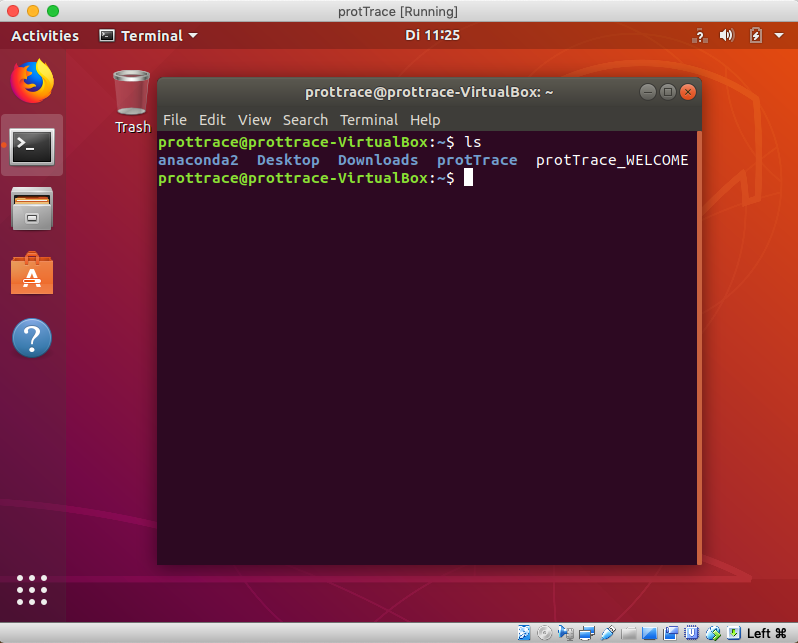 Figure 10 - Open a terminal in the VM by clicking on the terminal icon.
- Testing the installation and creating the config file.
- If you have downloaded the protTrace VM, issue the following command from within the protTrace directory:
perl bin/create_conf.pl -name=prog.config. - If you have downloaded the protTraceLean VM, then you will have to download the OMA ortholog groups and the Pfam database prior to using protTrace. Isssue the following command from within the protTrace directory:
perl bin/create_conf.pl -name=prog.config -getOMA -getPfam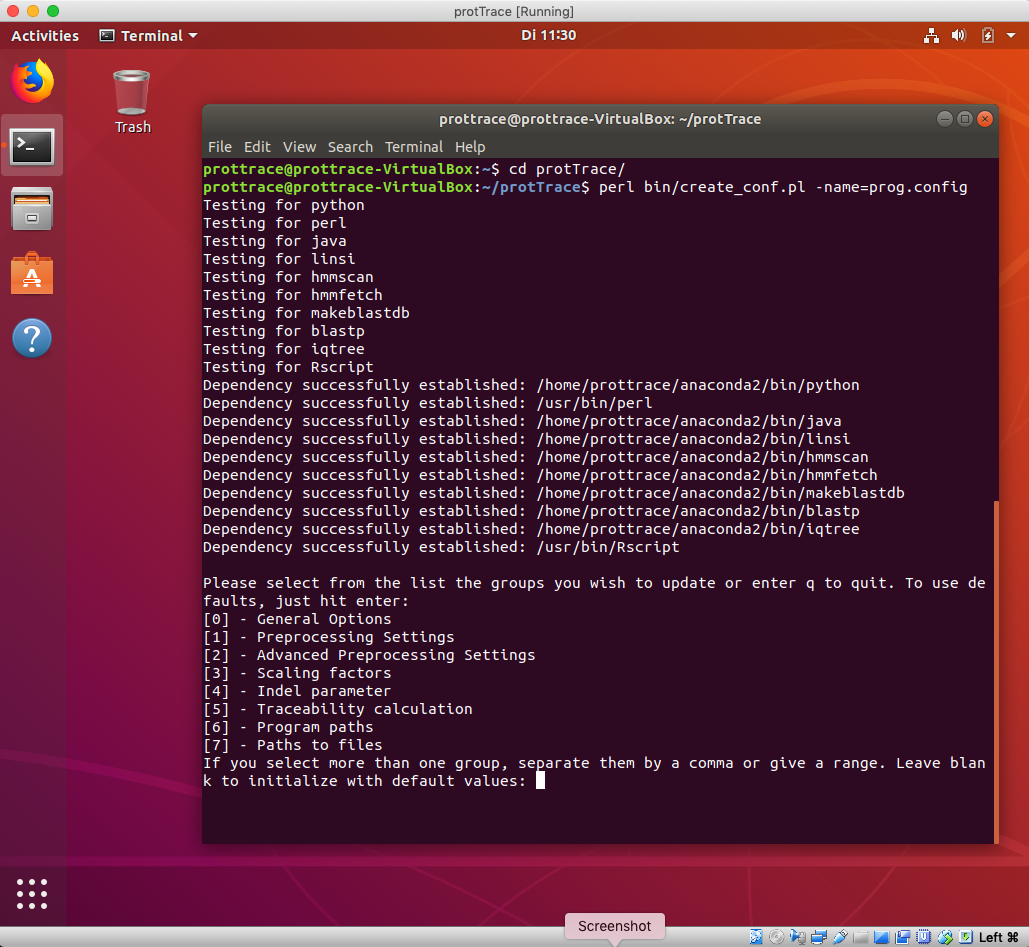 Figure 11 - Use the script create_conf.pl to test your installation, and to create the config file for the protTrace run.
- If you have downloaded the protTrace VM, issue the following command from within the protTrace directory:
- Running protTrace using the example file test.id
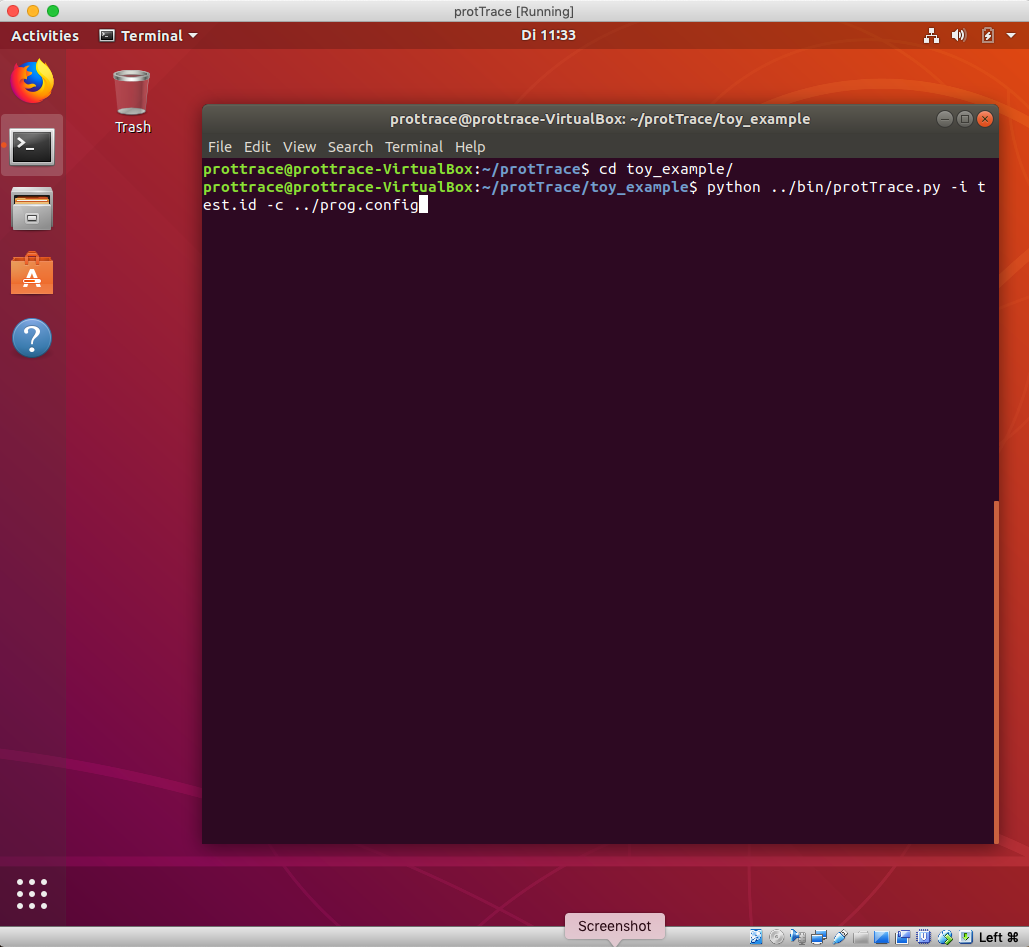 Figure 12 - The command to run protTrace from the toy_examples directory. The output will be stored in the Output directory one level above.